Need a little volume to your straight wig? Just a little curl or a little floof? Well with a little heat and something to bend your fibers around, you can easily get that volume you need. (This tutorial is not advised for wigs that are not heat resistant.)
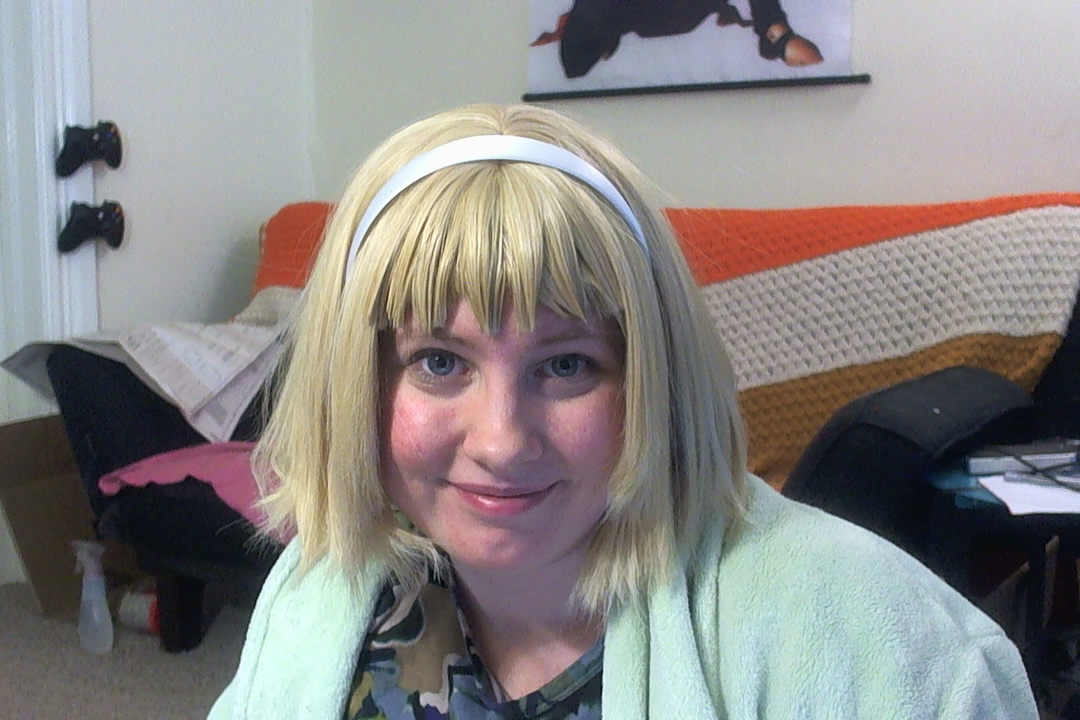
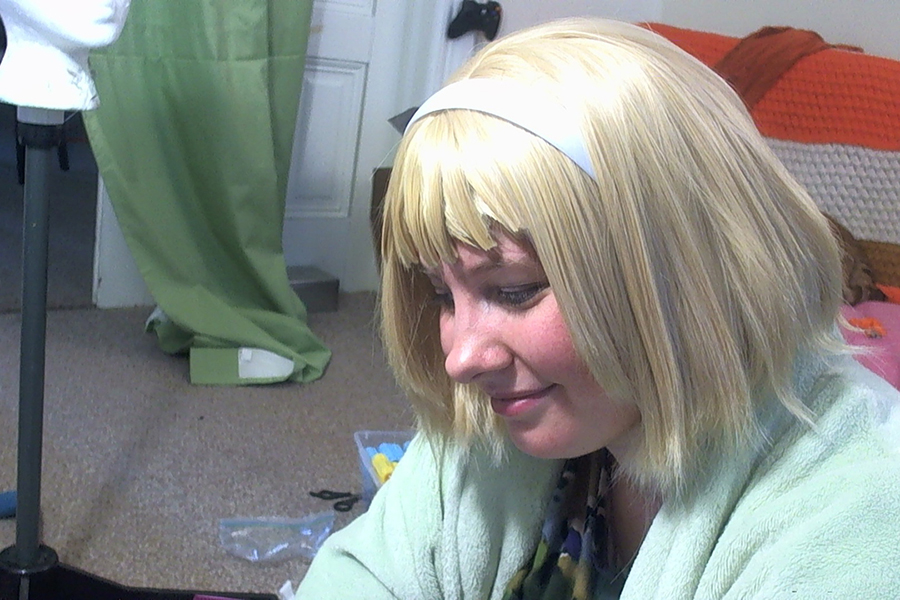
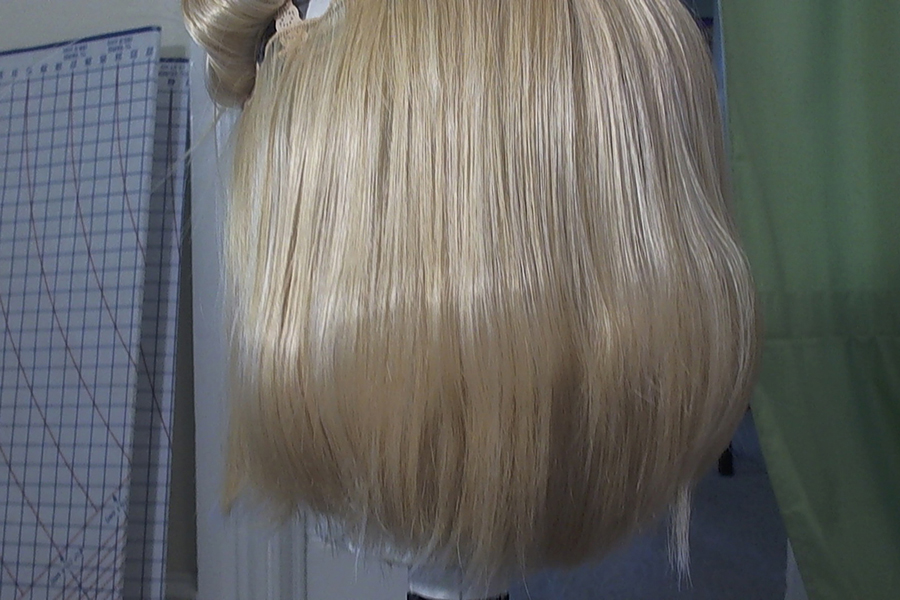
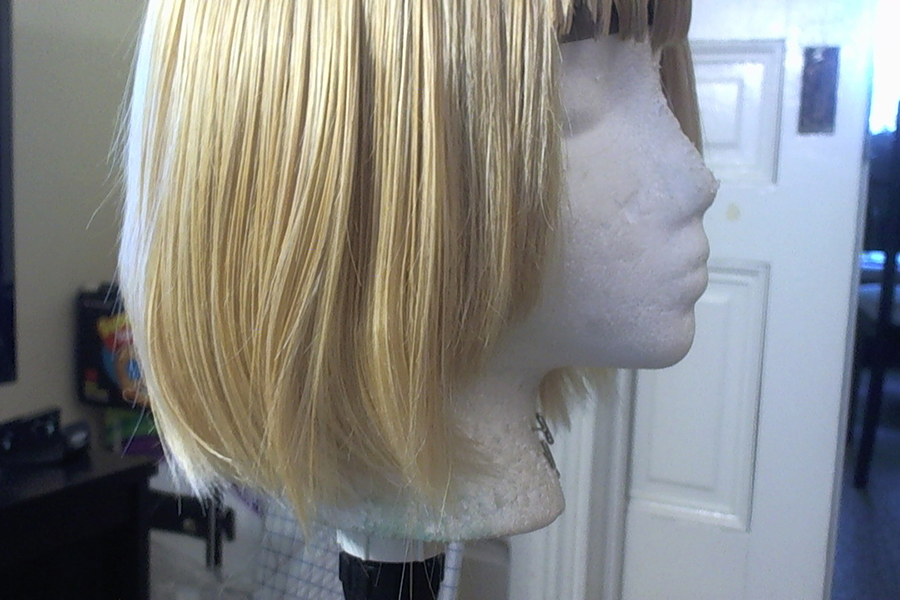
The example wig is from my Chinling cosplay. It is a Theia 20" Fusion Yellow from EpicCosplay. Initially this wig was way too long so I razored quite a bit of it off. I left it somewhat layered around the sides and especially in the back, but when I was done cutting I realized how flat it was. It needed quite a bit of volume and some shaping so a little bit of heat would most certainly do it. The curls don't survive traveling in a baggie 100% so I have to give it a little TLC upon making it to con, but it is very easy to get it back into the shape with some hair dryer blasts.
Materials You'll Need
- Wig
- Flat Iron
- Magnetic Curlers OR
- Round smooth plastic bottle
- Toilet Paper Rolls
- Anything round, large, and smooth
- Comb with pick handle
- Hair clips (any kind to hold in place)
- Hair Razor (for cutting)
- Scissors (for cutting)
༺ Let's get started! ༻
Let's get started!
Brush out your wig
You're going to want to make sure there are not any unneeded knots in your wig anywhere. Give your wig a nice straight brush just to get it untangled.
Pin/clip it up
Pull your hair up the best you can into groups around the sides. You're going to want to start from bottom to top, so grab a bunch of the hair and clip/tie it to the top, and then bring up chunks and layers around. Start with maybe 4 to 8 wefts (even amounts only) at the bottom dangling.
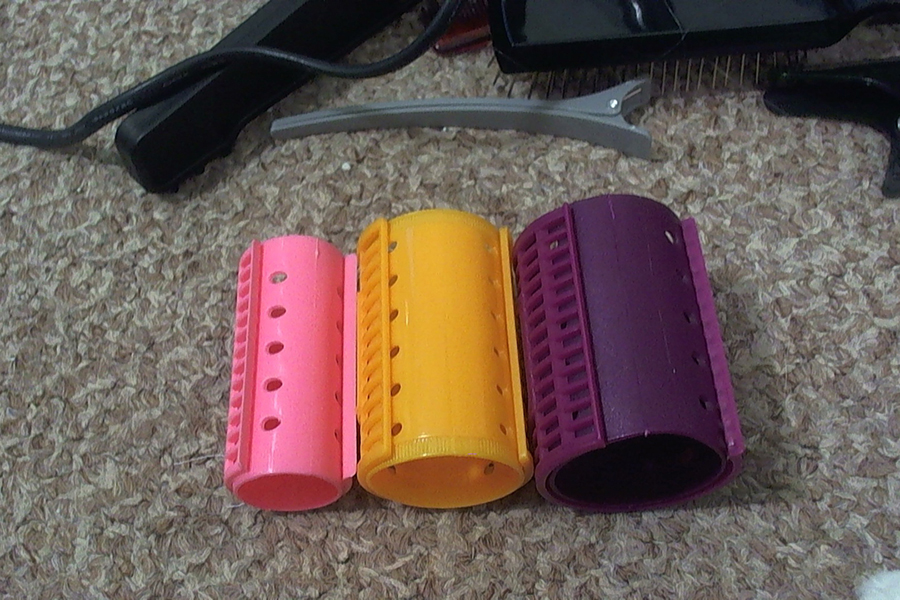
Prepare your rollers
When fluffing a wig, I went from smaller to larger. The sizes here are Large, Extra Large, and Jumbo. The reason you go from smaller to larger is you add extra curl on the bottom of the wig, and then slowly layer it overtop with. You can make it all one size curl, but you wont get the same amount of lift. It all depends on what kind of look you're going for.
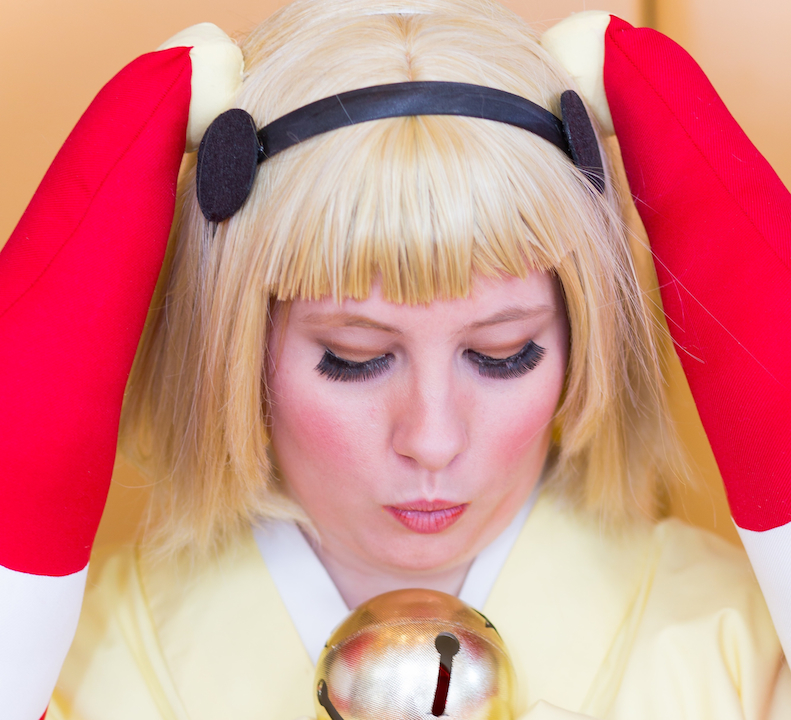
If your character has voluminous curls that stick out a bit like Shitsuki from Utena, you can start with a larger curl base and go up from there. But characters with tighter curls on the bottom that curve against the neck will need those smaller curlers. Its always better though to use multiple sizes so if you have them available, use them.
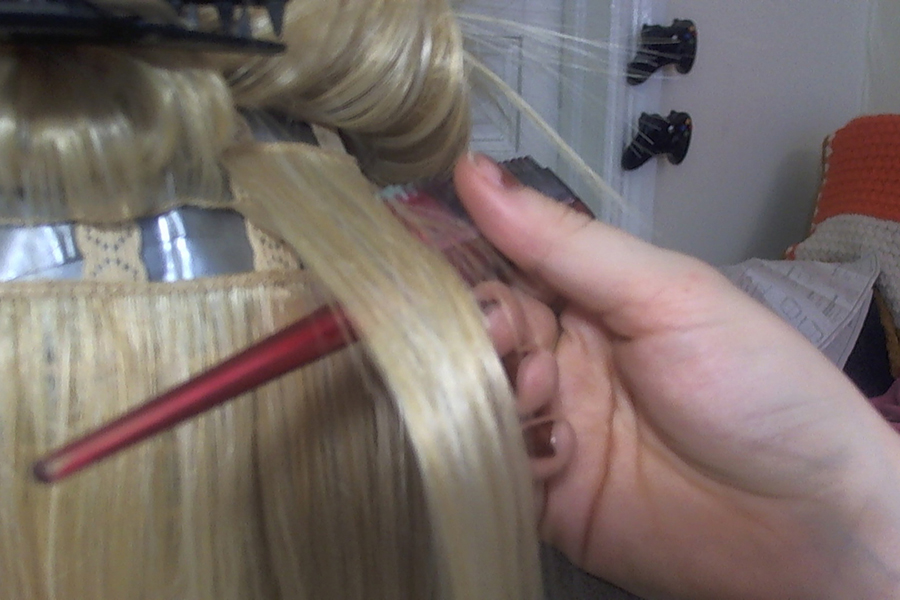
Section off a bit of hair
Use the pointed end of your comb (or whatever you're using that is thin and long) to pull away at a section of wefts. Take a little more than half the width of your roller and no more than two rows of wefts.
Heat fibers with flat iron and roll
NOTE: That if your straightener is real hot (like my GHD which is normally 450F) your fibers will also be really hot, so handle with care! I would never advise adding water or spray to the hair since it will cause the hair to 'steam' and that can add a bad effect to the fibers. A little hair spray maybe, but don't soak it.
WARNING: Before hitting any of the hair with your flat iron you're going to want to do a test strip on the bottom of the wig or a spare piece of weft. If your hair begins to melt almost instantly or become super curly and ungodly ugly, then your flat iron is too hot or your wig is not heat resistant. Always test!
First run that little bit in your hands with your comb to make sure its straight and flat, then give it a quick hit of heat with your flat iron. You will want to heat only the fibers you intend to curl. If you flatten out the entire segment you may get weird settling and curler folds in the higher areas.
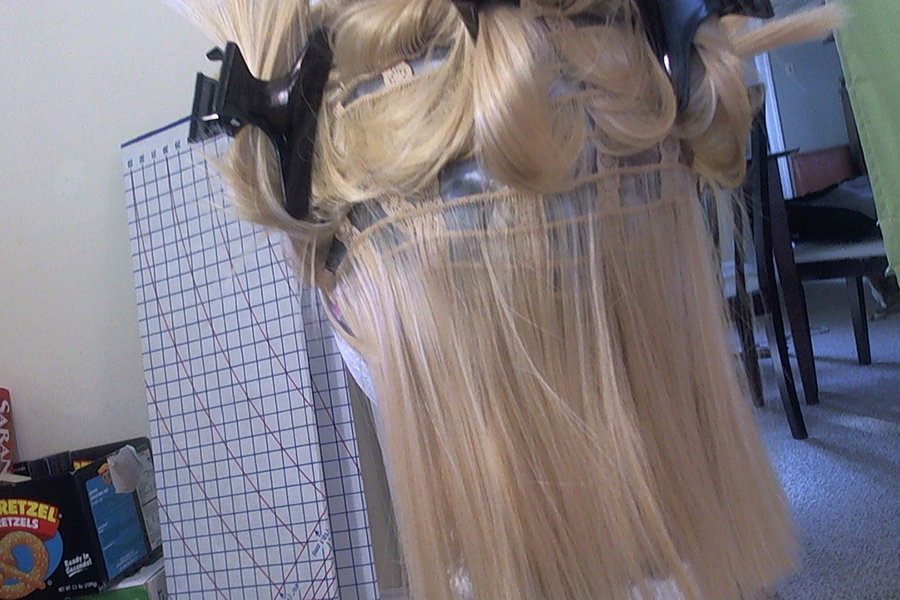
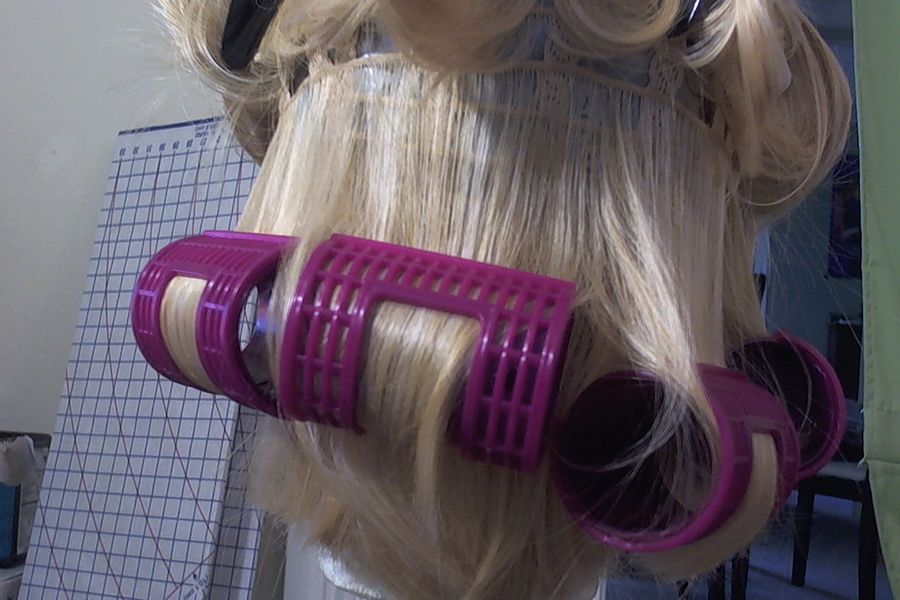
Once you've heated it you're going to want to work fast before the fibers cool too much. Take your roller and begin to curl it up from the bottom of the bit of hair with the curler remaining under the fibers. If you curlers don't have some sort of clip then you can hold them in place for at least a minute. But its best if yours clip shut.
You can do an entire row at one time without them cooling too much so get that row done!
Undo your rollers
After you're done your row you'll want to pull the roller out. The longer you keep it in place while, the more intense the curl will be. If you're just aiming to wave the wig a bit, you wont want it to stay long. If you're looking for intense curls, then leave them in longer.
Unlike when you normally make curls (where you unclip them, tilt the curler and pull down), you're going to simply grab it from the bottom with it still clipped and pull straight down. This doesn't allow the fibers to do that token 'bouncy curl' and instead pulls it out flat so you get that little wave. Rinse and repeat for every curler.

Brush out the waves
Notice how your hair looks all kinda silly and wavy? Don't worry! Take your brush and give it some nice gentle brushing. You're not going to want to pull it too hard or you'll make all those nice waves go perfectly flat again. Just enough to layer it where you're happy.
Rinse and repeat: separate, heat, roll, pull, brush
Now you're going to want to continue the process above for every section of two wefts. Increase the size of your rollers so that the curls begin to get larger and layer on top of the previous waves.
If your wig is completely flat at the bottom you'll want to continue this all the way up the wig. If you layered your wig like I did so that the strands on top are shorter than the ones on the bottom there is a point where you'll want to stop. (For example: The wefts attached to the cap are not curled for Chingling.) There is a point on layered wigs that your wefts will be too short to have any effect on the curl and curling them will only add odd waves to your wig. Double check by letting your wefts of the higher rows lay flat on the wig and ensure that they don't hang straight over the curl. Once they lay on flat and blend with no help, you're done.


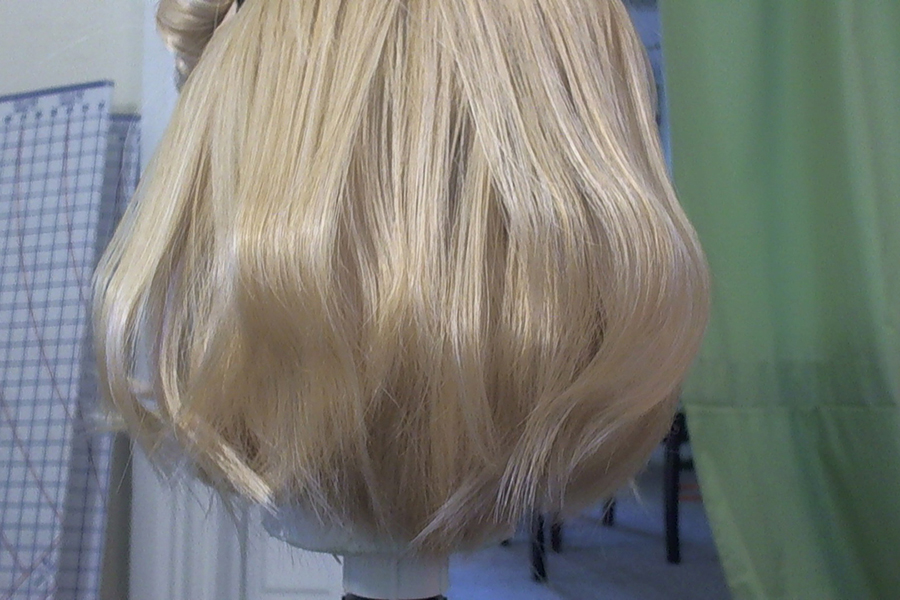
And you're done!
There you have it! You now have a much fluffier wig that you can wear and have fun with!
Note: If you put your wig in a bag for storage, you'll potentially flatten out those curls a bit. Make sure to always brush your wig out a bit before wearing. Use your fingers if need be to make it a little messy and more layered.
If you have any questions about this tutorial, be sure to bug me at or contact me on my Facebook or Tumblr accounts.
Did you like and use this tutorial? If so, please consider putting a little change into the Ko-fi tip jar!