What is a Fosshape?
By the makers of Wonderflex, Fosshape is a relatively new material which is being considered the ‘buckram’ replacement. Though still lightly pricy for a cosplay material), Fosshape can be used in a multitude of way to make hats, armor, inserts, and other items requiring a stiff yet flexible feel to them.
When making armored boots there are a multitude of variations that are used by cosplayers. For large budget cosplayers, materials like Wonderflex or Worbla are preferred because they are easy to work with and solid which is worth the price. Others will utilize methods like craft foam which even after much sealing can still be punctured, stepped on, and easily ruined because they are attached to the feet. Fosshape is a nice middle ground between the two materials due to its cost, its malleability without ruin, as well as being able to handle the damage of wear and tear of walking in these boots. You're able to glue it, squish it, sew through it, paint it, ect.
This tutorial is specifically how I made my Beatrix boots, but I use this process for my other armors. If you can make a form you can pin to, you can make a fosshape form from it!

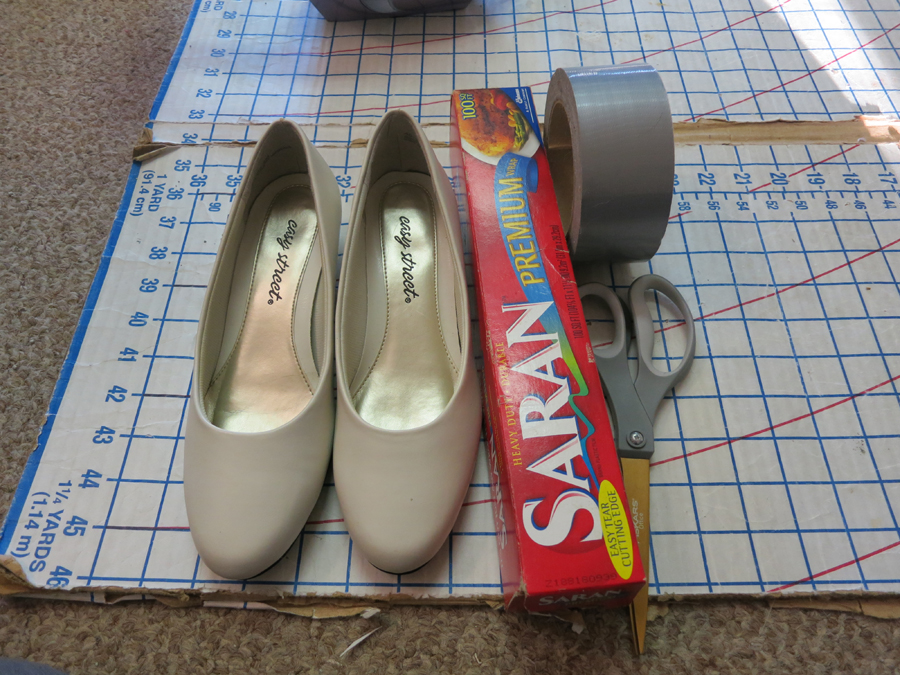
Materials You'll Need
- Pair of Comfortable Shoes or Heels
- Saran Wrap
- Duct Tape/Making Tape (lots of it!)
- Scissors (for tape)
- Dark Sharpie
- Polyfil
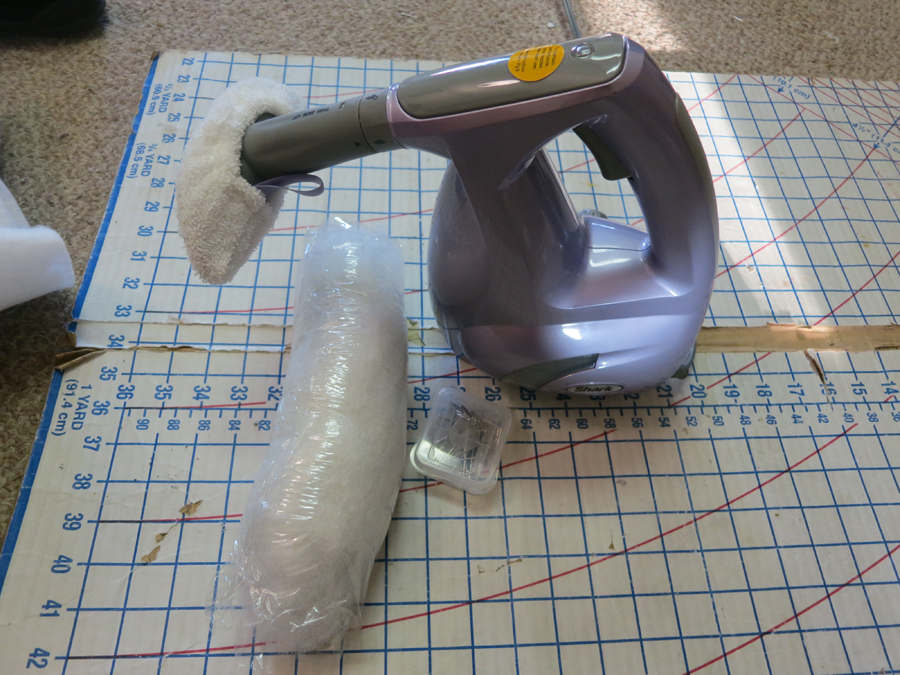
- Hand Steamer (preferred over iron)
- T-Pins or Pearlized Needles
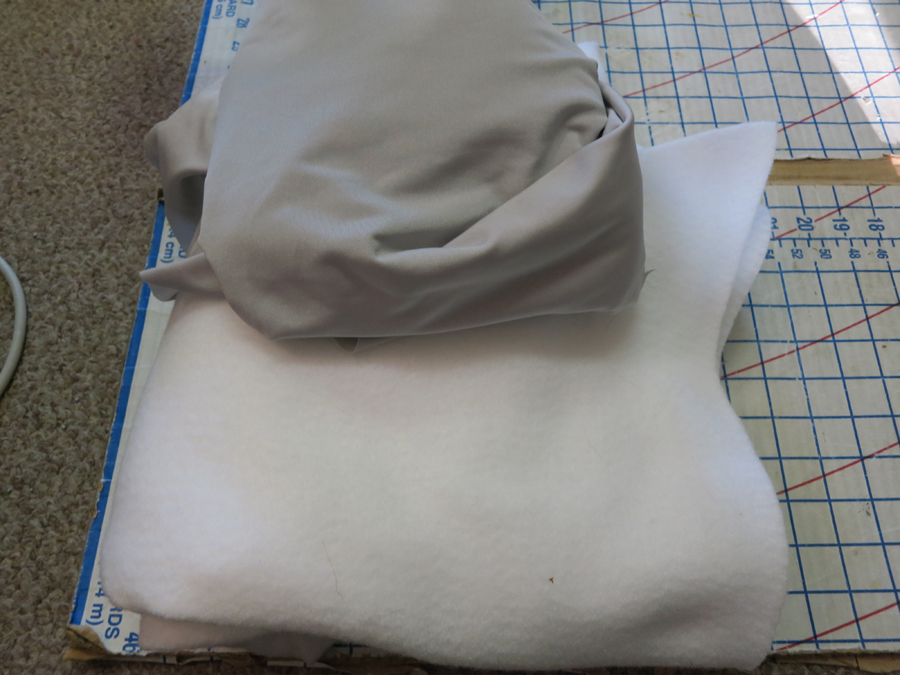
- Fosshape 300 - 1 Yard
- Spandex - 1 Yard
- Fabric Scissors
- Fabric Marker
- Satin/Silk Pins
- Sewing Needle
- Thread
- E-6000
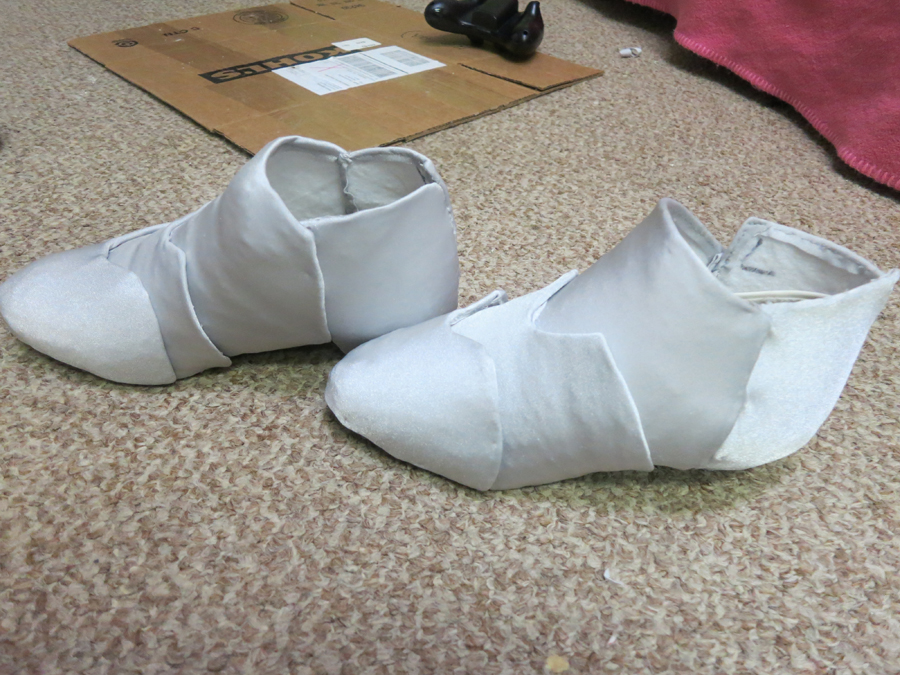
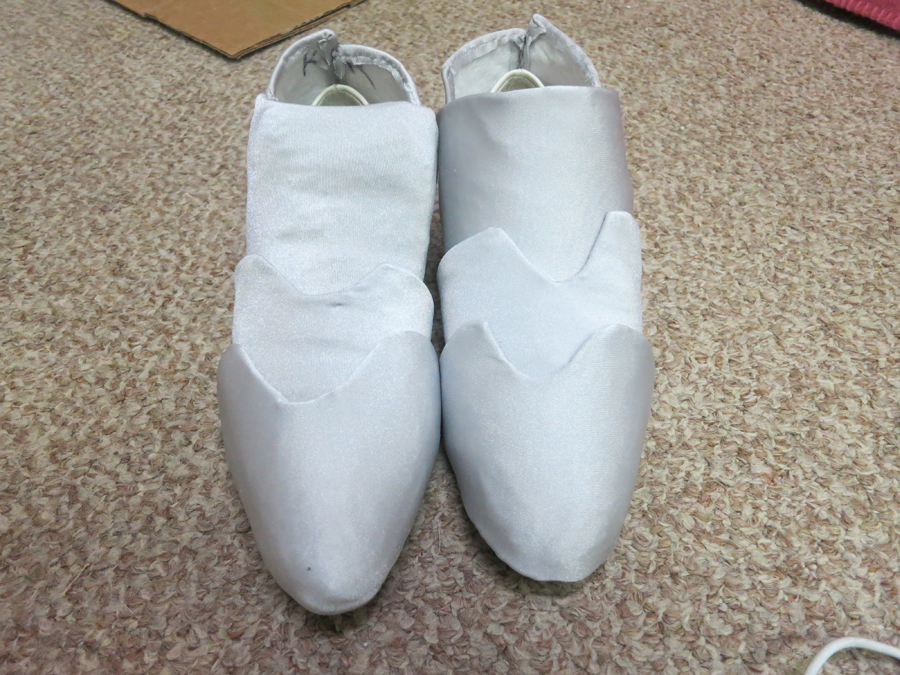
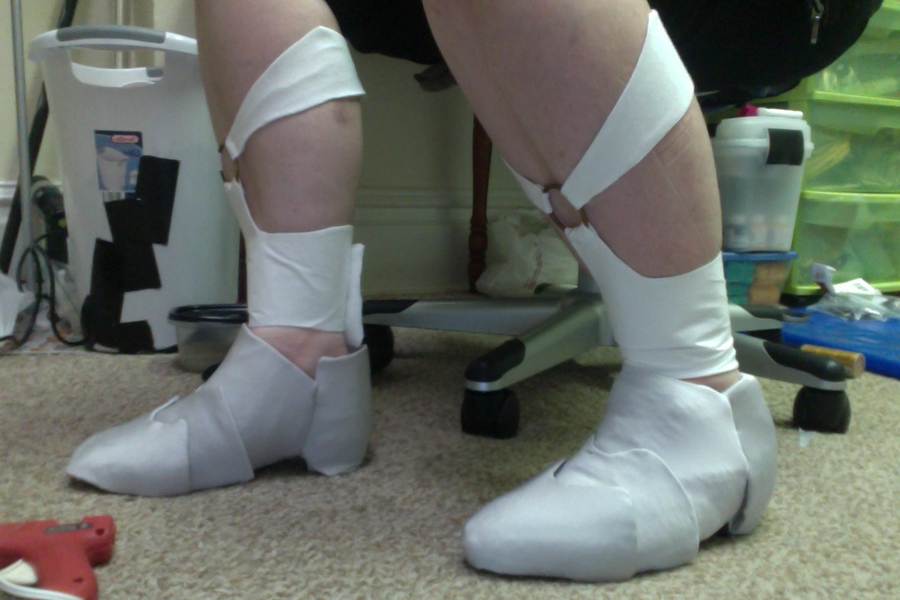
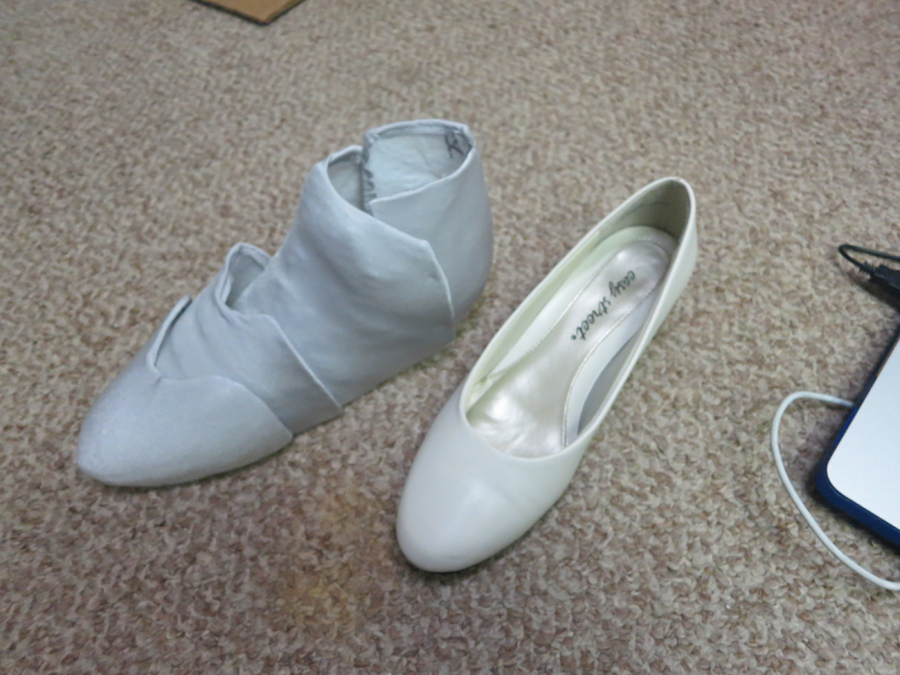
About These Boots
These boots are recreations of Beatrix's boots from Final Fantasy IX. Initially I actually had to stretch them since I have such wide feet. Over time in walking in them I realized that hot glue was not a preferred choice in keeping the fosshape attached to the shoes, so I switched to E-6000 for stable hold. They match perfectly with the rest of my fosshape armor for Beatrix
༺ Let's get started! ༻
Let's get started!
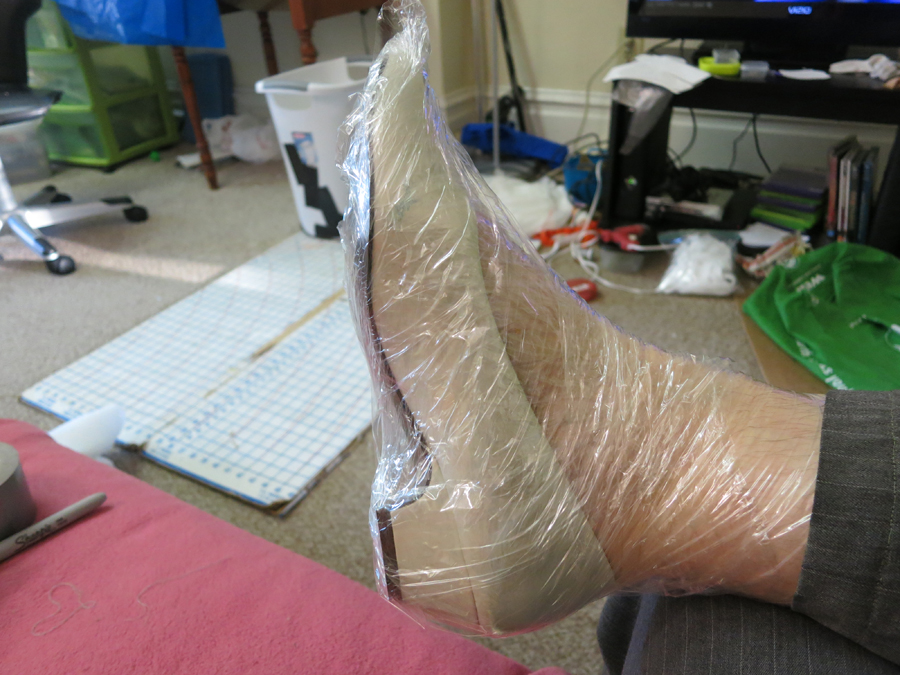
Saran wrap your foot
Because Fosshape works around a mold, you will require one in order to form the material to. Pinning the fabric and heat steaming it directly against either your shoe or your own foot is extremely hazardous, so making a mold to begin with gives you a form to work with the entire process through.
Put on your shoe and wrap it tightly in saran wrap. The wrap isn’t meant to hold your foot in place, but generally protect your foot from the duct tape. Cover your shoe and your foot completely from toe to the ankle.
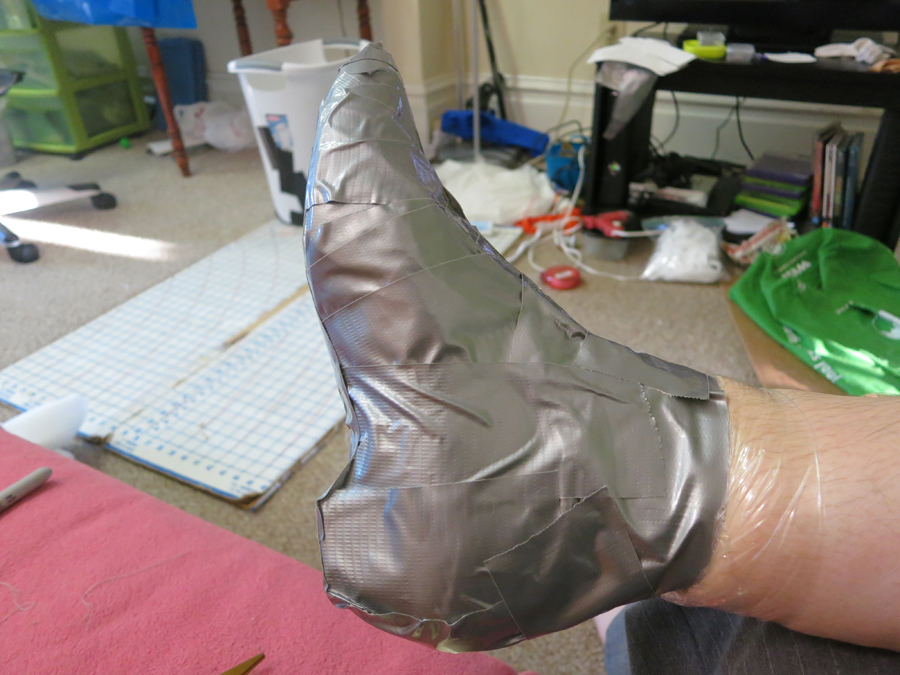
Tape up your foot!
Cut off pieces of duct tape and layer it over the saran wrap. The duct tape holds onto the saran wrap tightly and makes an unstretchable form that is easier to work with. Layer on a lot of duct tape to ensure it doesn't stretch when you fill it.
Cut yourself free
Carefully cut down the back of the boot along the heel of the foot until there is enough room to free both your foot and the shoe from the wrap. You will have to cut all the way down along the heel in order to do this.
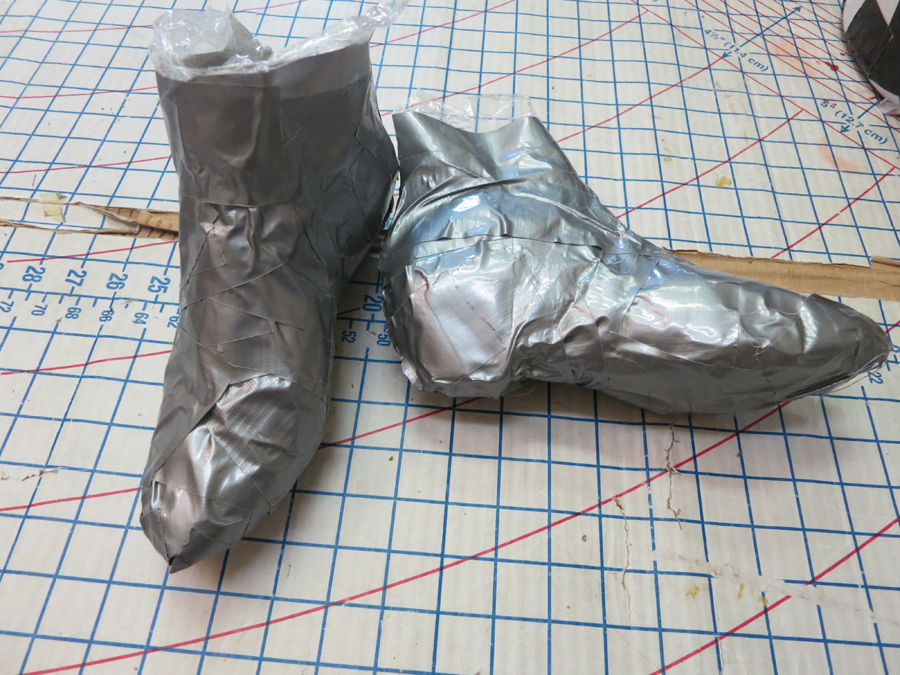
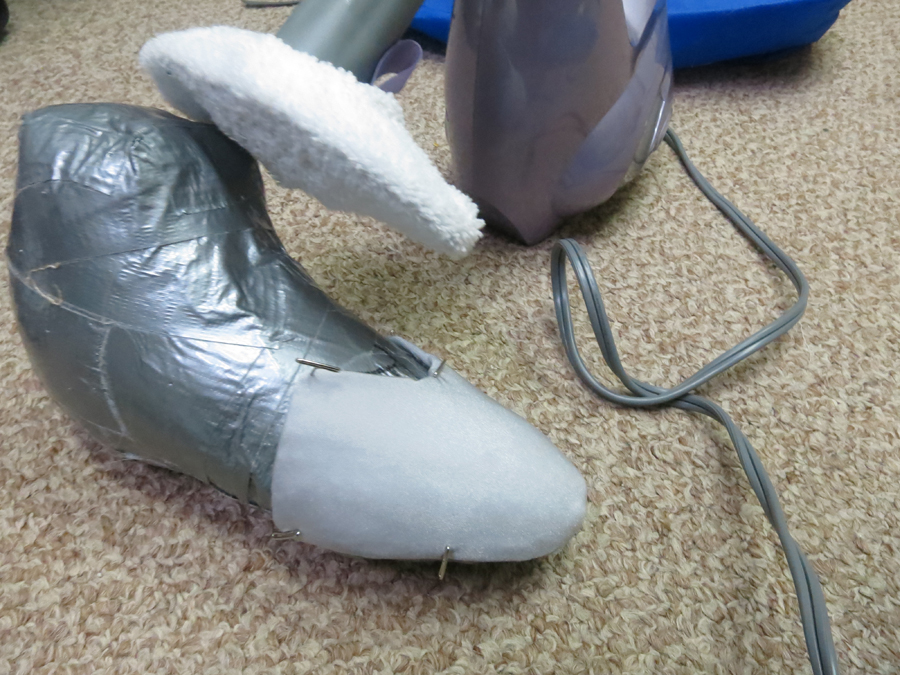
Fill the boot
Cut further shards of duct tape to help seal the cut made by freeing your foot, and stuff your boot with as much polyfil as it will physically allow. The foot form will need to be extremely firm to keep the fosshape from over shrinking upon steaming, so fill it till it gives very little give when squishing. Use duct tape to seal the top of the foot.
Repeat this for your other foot and mark with a sharpie which boot goes to which foot. Sure, you could easily identify which foot is which, but it makes it easier to identify it quickly instead of compare and contrast.

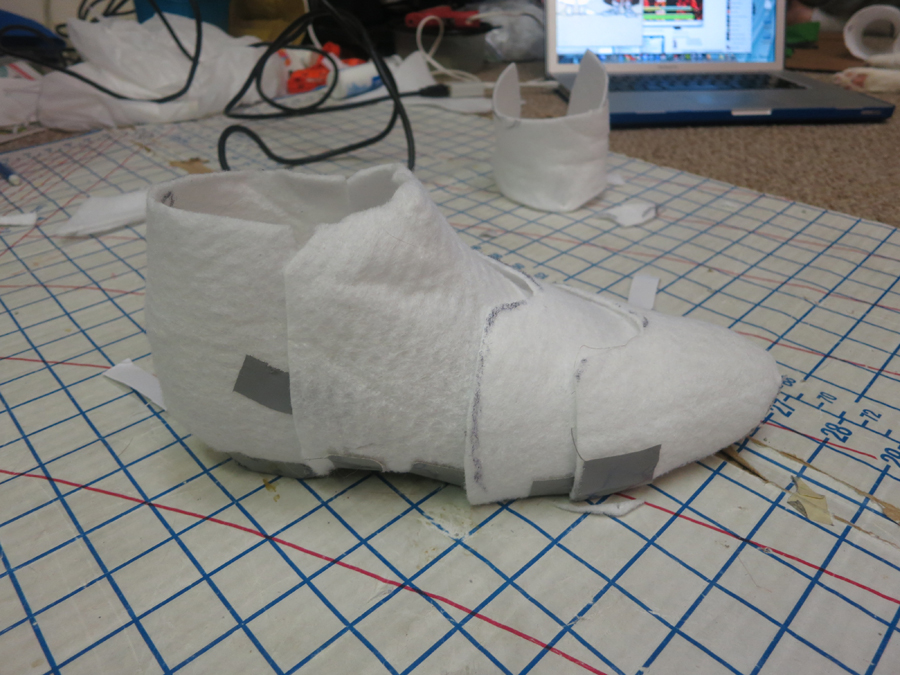
Imagine armor pieces
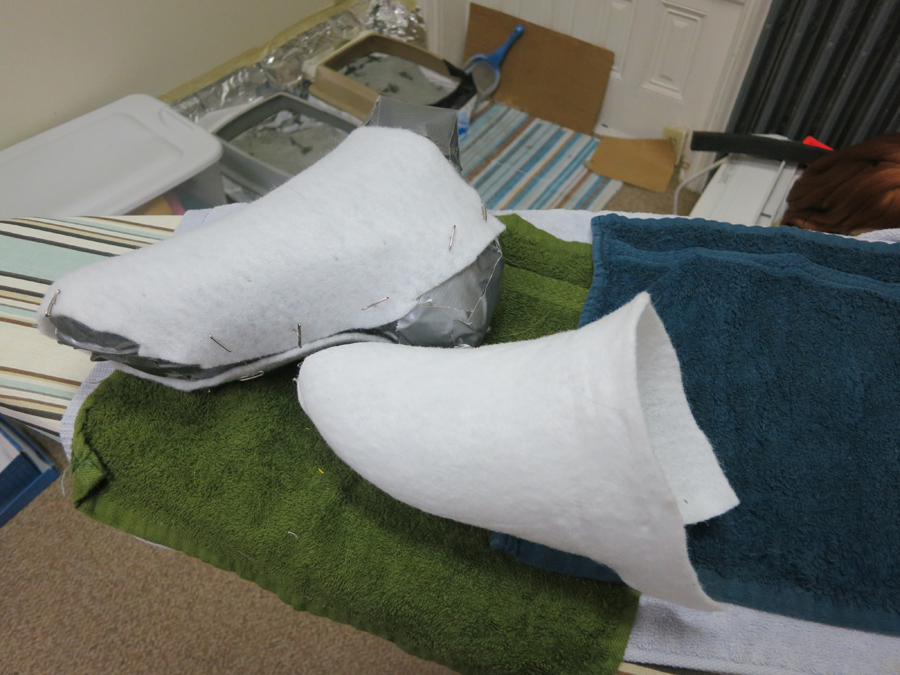
Beatrix’s boots have 4 major parts to it: A triple layer on the front of the shoe and then a heel portion split in half. Knowing this, I cut away 4 pieces of fosshape to the approximate size of the boot to where it would fit. Depending on your boot structure depends on your pattern pieces.
When cutting your fosshape, leave excess over areas knowing that I'd have to layer it on top of each other. Simply use t-pins or pearlized needles to pin a chunk of fosshape over your form in the place you want, then cut away any unneeded overlapping excess.
Over-pinning the fosshape is far better than under-pinning. The Fosshape does shrink when it begins to harden, so ensuring that every edge is pinned in place helps reduce 'scalloping' on the edges.
Note: Like wonderflex, fosshape does bind to itself when heated up. If you do not want certain pieces to be stuck together do not layer them.
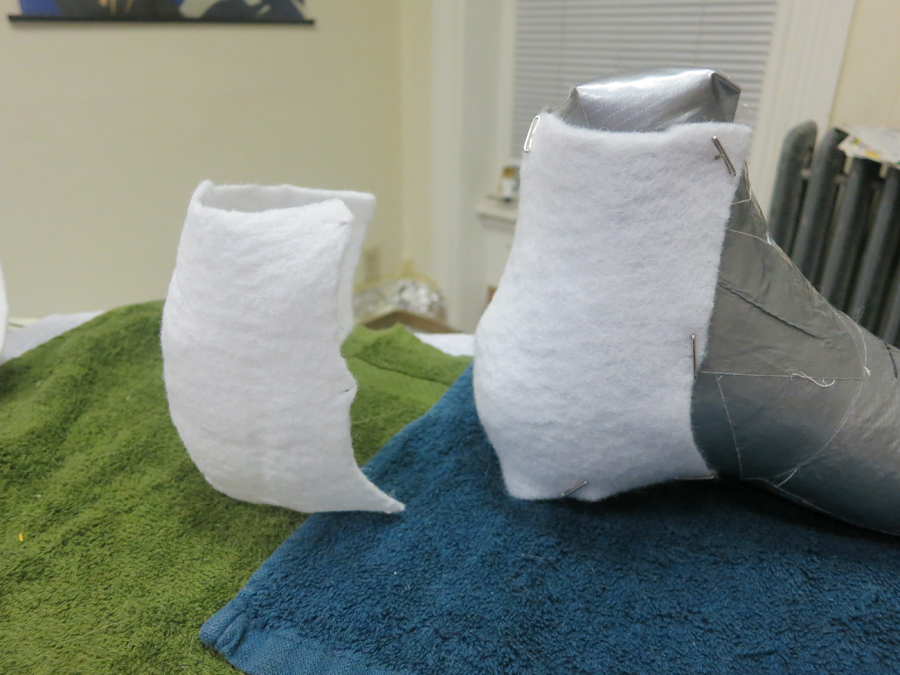
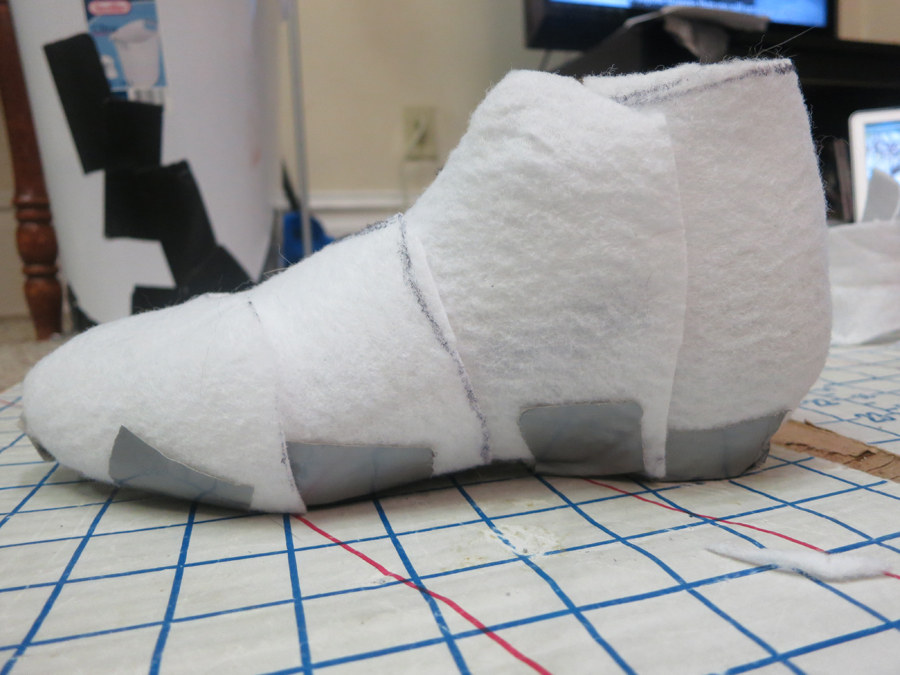
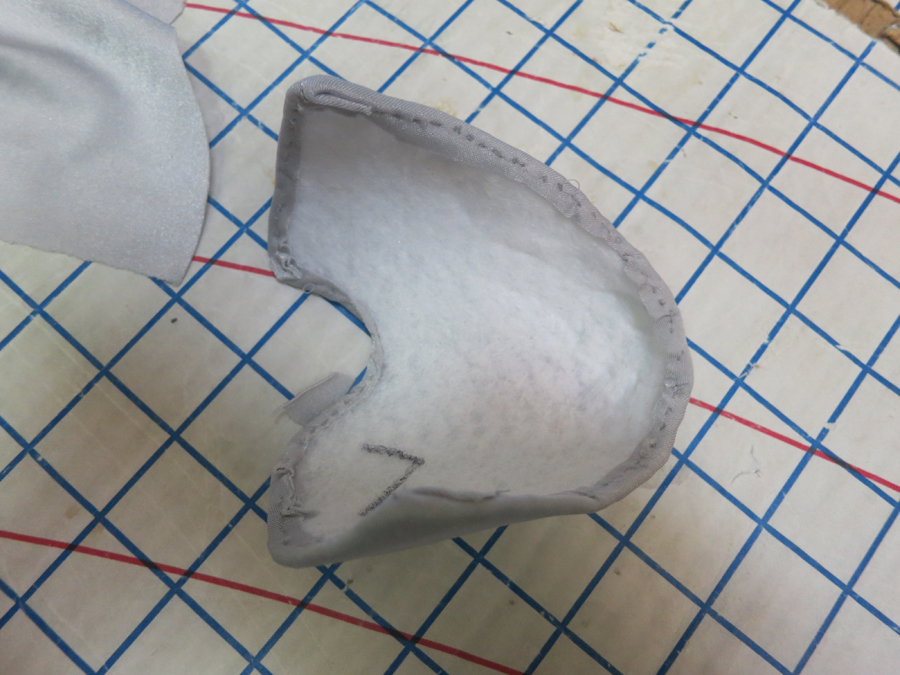
Steam those pieces
Once you have your pieces set in place on your feet, turn your steamer up to it's highest point and put it directly against the fabric. Heat up the fosshape until it shrinks and becomes smoother and less malleable. Your fosshape is completely cured when you can press over the top of it and it feels like smooth and harder plastic instead of its soft un-cured state. Make sure to test every edge so that no part remains soft. A good test is to tap the fosshape with the back of your fingers against the nail. It gives a nice 'tap tap' when its cured.
When you're done steaming the first piece, let it cool and do the next one. Repeat this process for every piece of your armor boot until you have all your hardened pieces. Be sure to label or keep the left and right pieces separate so that you don't mix them up!

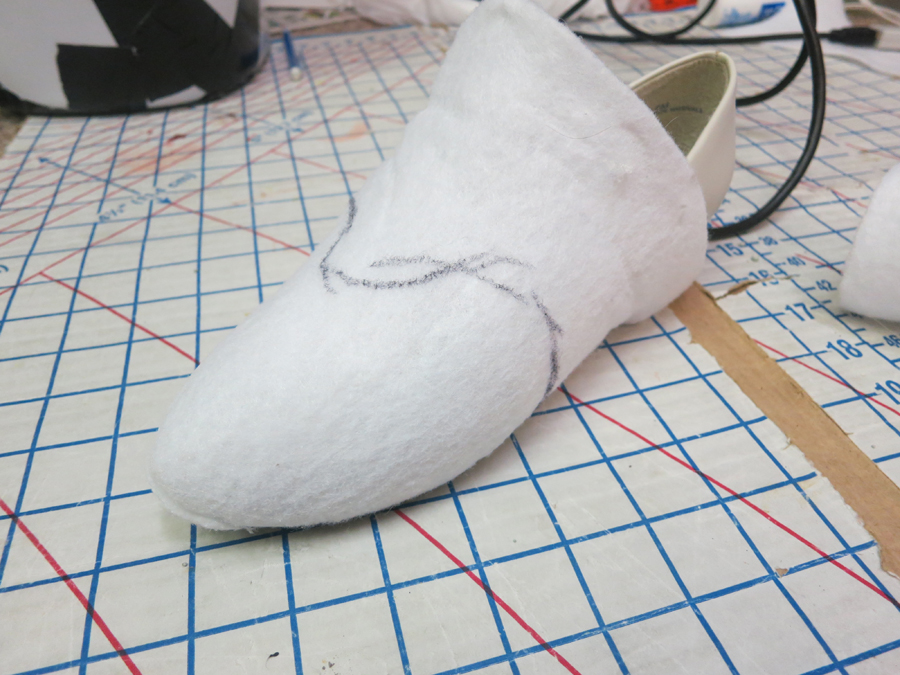
Trace and cut
Put your first pieces on your shoe and trace on with a sharpie the shape you are looking for. This is very much a 'look and see' step, but do not worry about where your marks are for your sharpie since they will be covered by fabric. Once you've traced out your shape, cut it free of the excess and align it once more against your foot.
If you feel by the end, however, that your shape wasn't what you wanted, you'll have to re-steam a new piece. So take your time when cutting to get it just the way you want it.
Repeat this step for every piece and over time stack them against your shoe. Be sure to pay close attention to where the sole of the foot meets the fosshape as well since you will want to align those two rather close. If you need a good way to imagine the shoe together, use pieces of duct tape to put it all into shape.
Be sure to label your pieces with which shoe it goes to at this step! This is extremely important to make sure you don't mix up sides.

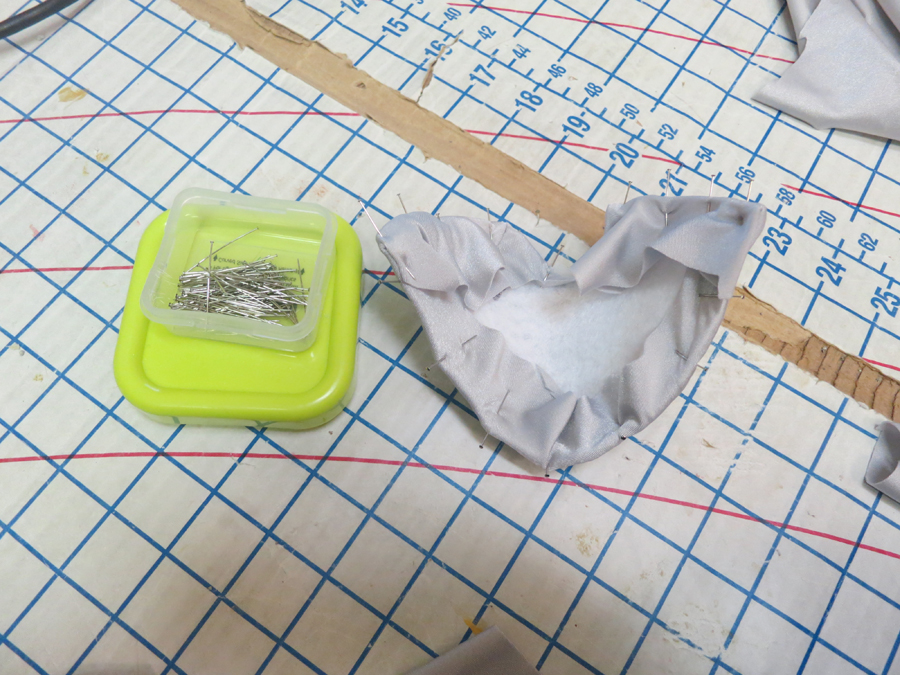
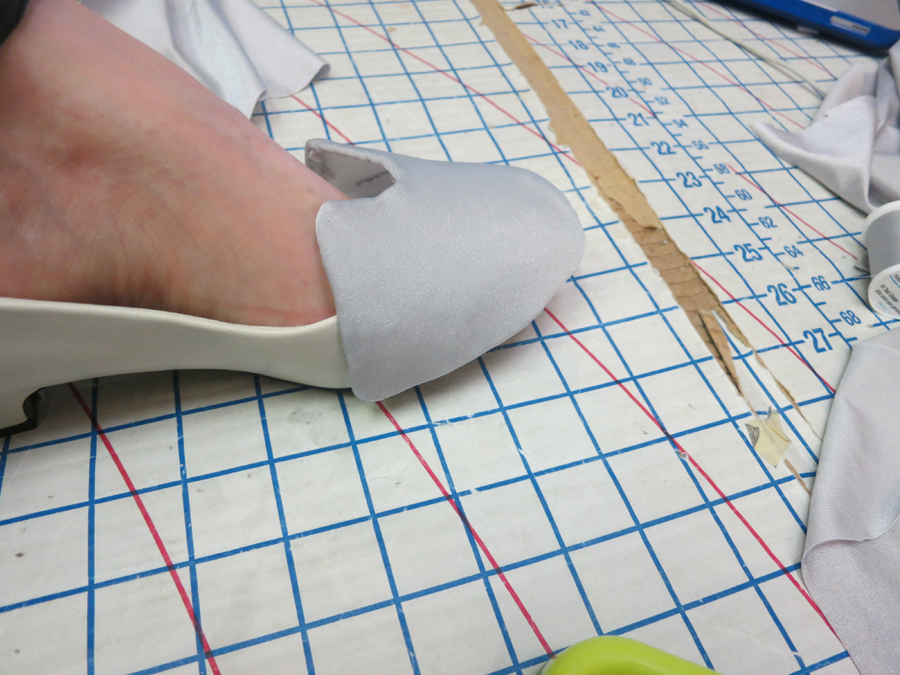
Pin your spandex
Cut free a piece of spandex that is larger than fosshape bit and use your smaller pins to hold them in place. The reasoning behind the use of satin or silk pins is that smaller pins do not leave lingering holes in the spandex.
The aim is to stretch the fabric taught over the fosshape, so work from the middle outside towards the edges. This allows the spandex to remain taut and keep it from pulling oddly at the center or leave lingering lumps.
Try to cut within 1/2” from the inside edge of your spandex to give you plenty of excess for sewing, but still keeping it tight.
Note: You can remove the center pins once the edges are down, but just to keep it securely down I left them in. This means the pins once flipped will constantly stab at whatever is under it, but sometimes security is better than pain.
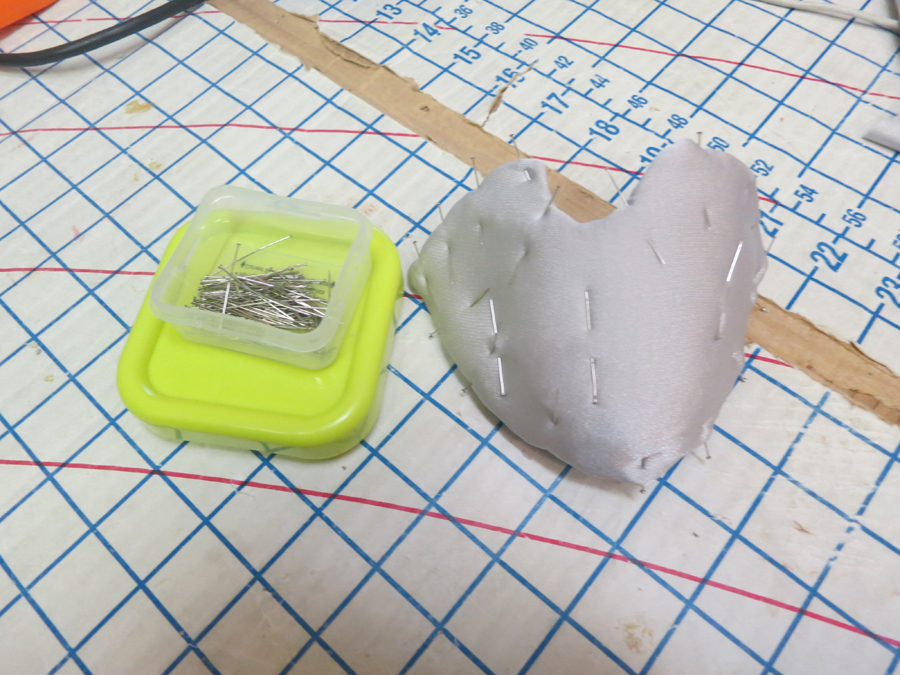
Stitch the spandex
Holding your spadex in place can be done in multiple ways: gluing them, using your sewing machine, or hand stitching them. Since I didn't want the thread being seen I made small straight stitches on the underside of the fabric close to the edge. You could use a straight stitch, a whip stitch, or anything else to keep your spandex in place. Just remember, your spandex will pull against the thread so make sure it is taut and secure before removing your pins.
Any excess that is not sewn down can be cut away with your sheers to leave a semi-clean edge. If you're curious with how it looks, put it up against your shoe to ensure its fitting fine.

Steam the iffy pieces again
Sometimes when you're done sewing, you realize that the fosshape isn't hard enough to handle the stretch of the spandex. Now its out of shape and lumpy and not how you want it.
Re-pin any pieces you want to reshape back to your form and hit it with the steamer again. Make sure to let it cool completely before pulling it free.
Note: You can do this as well when your shapes start to undo themselves over time! After months of convention use or maybe travel issues, your fosshape may start to un-cure. Put them right back on the form or against a similar shape and cure them again with the steam. It won't damage the fabric and it'll be firm once more.


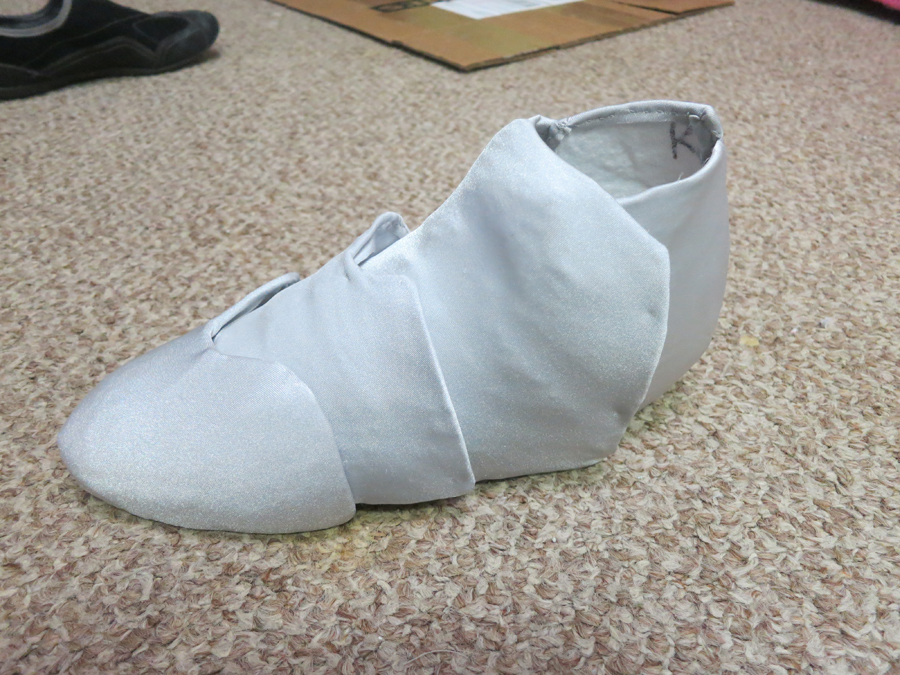
Puzzle piece your shapes together
Always look before you leap. To ensure your pieces are all working together fine with the new spandex on top of them, place them together via duct tape or just side by side to make sure they are laying how you wish. Put them on top of your shoe as well to ensure they fit the shoe correctly where they need to.
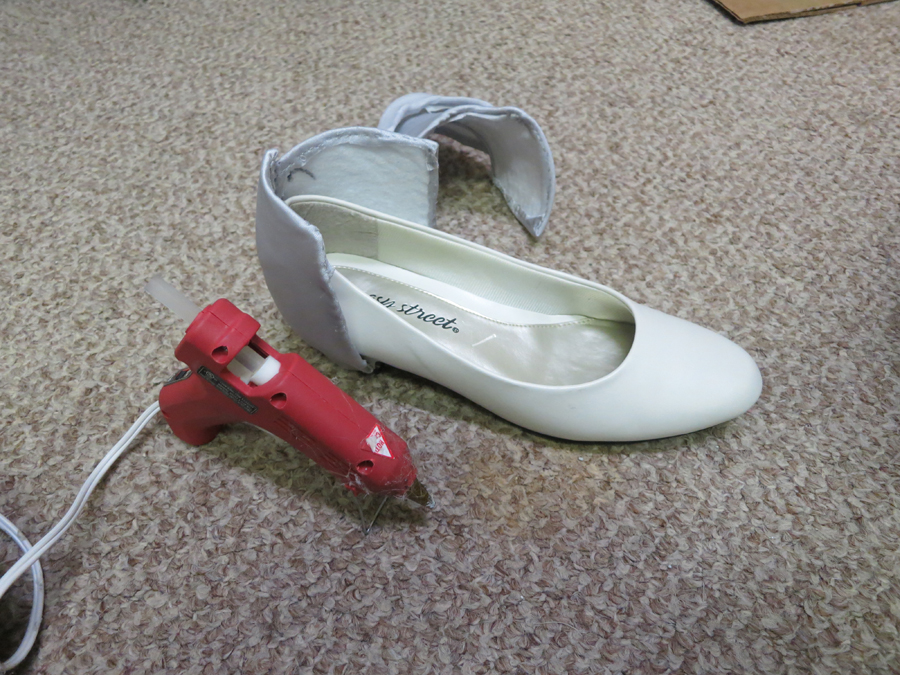
Glue pieces to shoe
Note:Initially, I did this project with hot glue. It was then I realized that although hot glue cures fast enough, it certainly doesn't like the fake pleather shoe. If you're not time crunched, use E-6000- which is an exceptionally amazing craft glue- to hold the pieces to the shoe while walking.
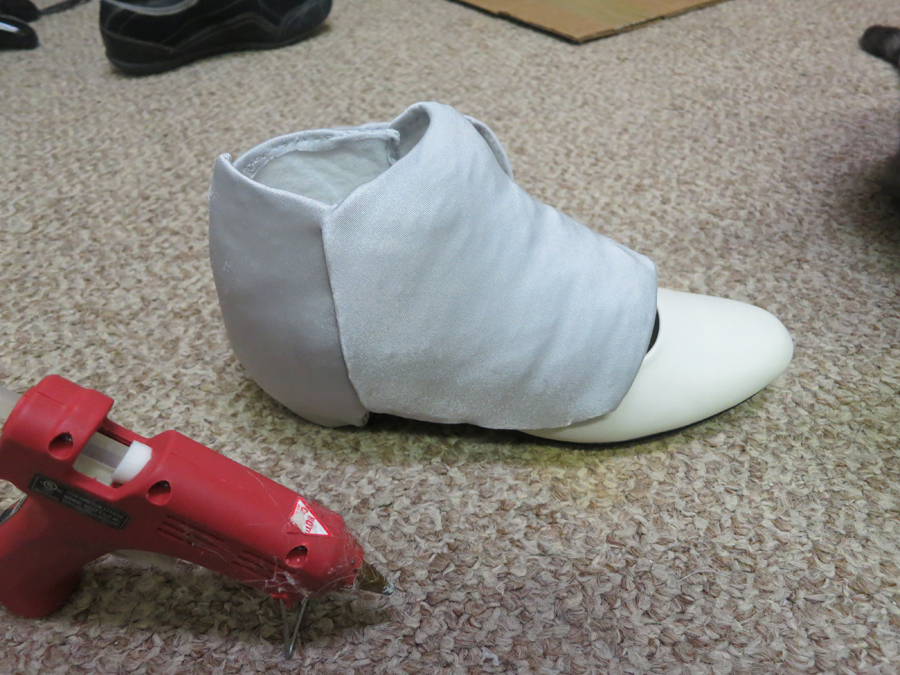
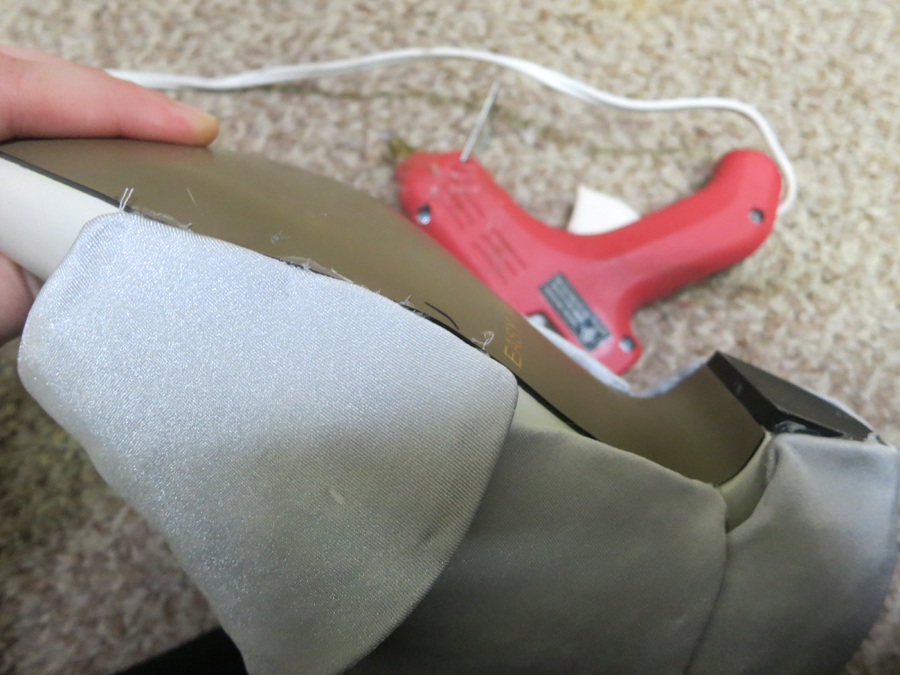
Set the pieces in layers from bottom to top and begin to glue them in place. Set your glue along the edges of your fosshape and where they lay on the shoe together. You do not need to slather the shoe. Following the heal line and the sole line is more than enough to hold them in place.
Make sure to carefully hold them in places where they do not lay easily. If need be, use masking tape or some other sticky removable tape to hold them down while the glue dries.
You're done!
If you have some places that make it hard for your foot to get into the shoe, either sew or glue a snap or some sort of removable hook to allow your foot to get in and out easily. The fosshape and spandex flex rather easily so it's not a problem for tight fits.
If you have any questions about this tutorial, be sure to bug me at or contact me on my Facebook or Tumblr accounts.
Did you like and use this tutorial? If so, please consider putting a little change into the Ko-fi tip jar!