What is a French Seam?
For those with low budgets and still looking for a clean seam line, a French Seam can be a wonderful skill to learn. A French Seam is usually used with delicate fabrics to protect the seam allowance and keep the fabric from fraying. It can conceal pinked edges, protect the edge of the allowance, while also adding some extra support to the fabric.
As a warning though, for beginners a French Seam is a difficult task on curved seam or complex set-ins (such as a set in sleeve.) It is also not very suitable for fabrics that are thick or bulky, such as wools, thick furs, or thick fleece. If you are ever unsure of the suitability of a fabric for the French Seam, it is always a good idea to test the process at least once.

Why locking seams is important
When finishing a seam, a seamstress or tailor may utilize an overlocking stitch or serge the seam allowance on the inside seams to make clean and secure edges to the excess fabric. An overlocking stitch usually is meant to restrain the excess fabric from the seam line to hold it in place, adding extra support to the seam allowance, or even giving two pieces of fabric a decorative edge which hold the fabric together in a unique way.
As many craftsmanship cosplayers know though, a serger or overlocking machine can cost $300 or up to $800, which is usually out of the budget range of many cosplayers. Sergers also can use an excess amount of thread in order to perform different styles of overlock, and sometimes are not best on the fairest of fabrics (like silk, organza and other light fabrics and sheers). Though these machines do simplify the amount of time making an overlocking seam and trimming it away, it most certainly is not the most cost effective for most.
For this tutorial I will be using a crepe back grey satin due to the ease of distinguishing right side and wrong side and a black thread to be easily seen. Be sure if your fabric has no distinguishable wrong/right side to mark it when sewing your french seam (I like to simply create an X on my wrong side fabric with fabric chalk). If working off of a base pattern with a specific needed seam allowance, be sure to add an extra 1/4" seam allowance to all edges to account for the first seam that will be made. (You can manipulate this allowance as much as you like, this is how I prefer to do this.)
Materials You'll Need
- A sewing machine
- Thread of close fabric color
- An iron
- Pinking shears (Preferred) or Fabric shears
- Pins
- Optional: Sewing chalk for marking
༺ Let's get started! ༻
Let's get started!
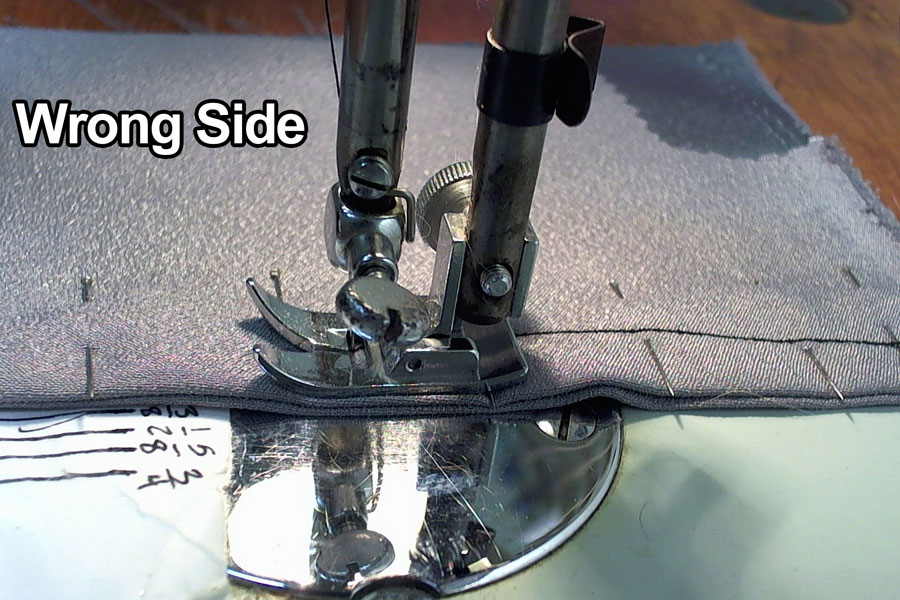
Pin wrong sides together
Unlike a regular seam, you are going to pin your wrong sides together down the edge of where you will make your seam. This means that your right sides will be facing you.
Note:
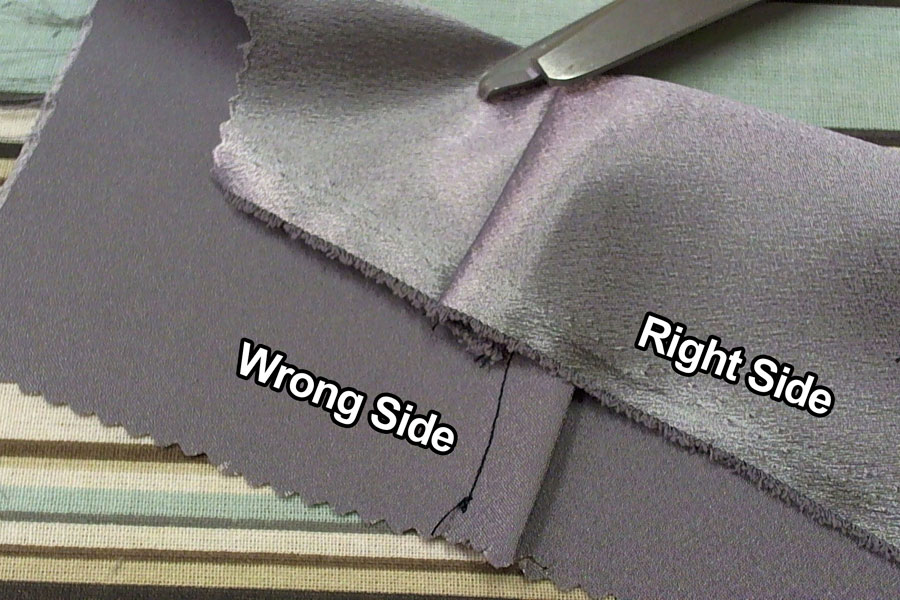
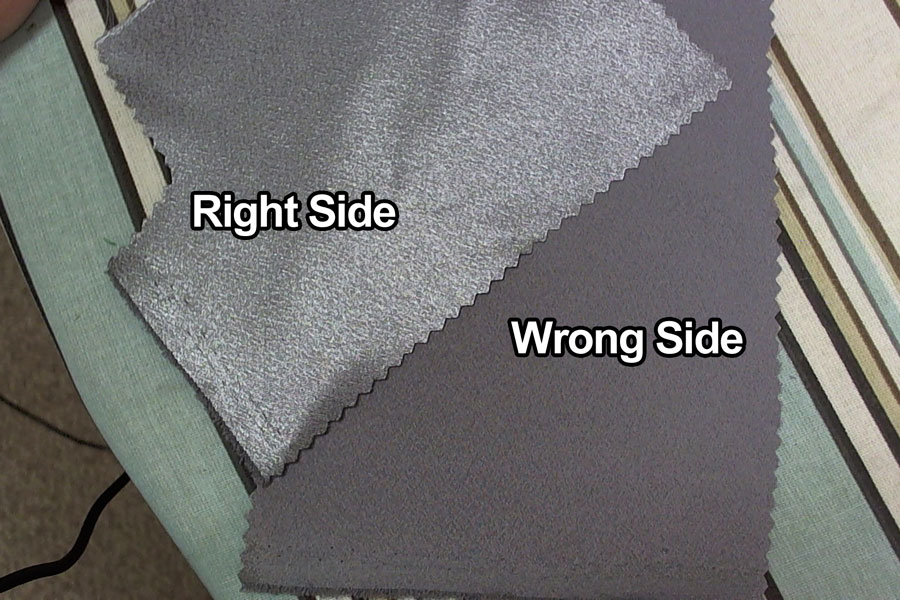
- Right Side: Shell side of the fabric, meaning the side that is seen.
- Wrong Side: The lining side of the fabric, meaning this faces your body.
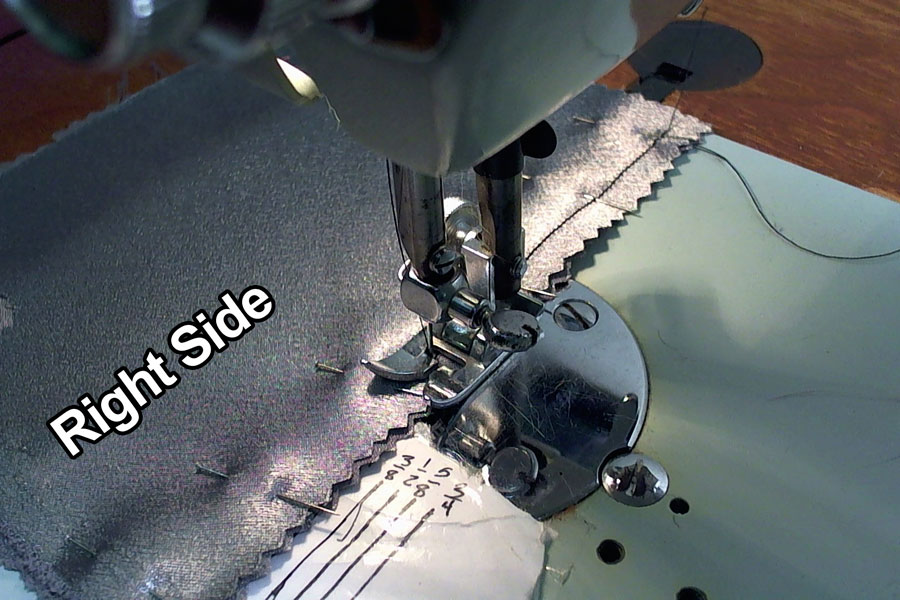
Make your first seam
Stitch a 1/4" seam allowance down the edge of your fabric where pinned. Remove your pins.
Cut your allowance
Cut the seam allowance with your shears down to within 1/8" of the stitches. The cut edge here will be protected by the case made by the french seam. You are cutting close to the seam, but do not cut too close to the thread or risk cutting the thread or begin fraying next to the seam.

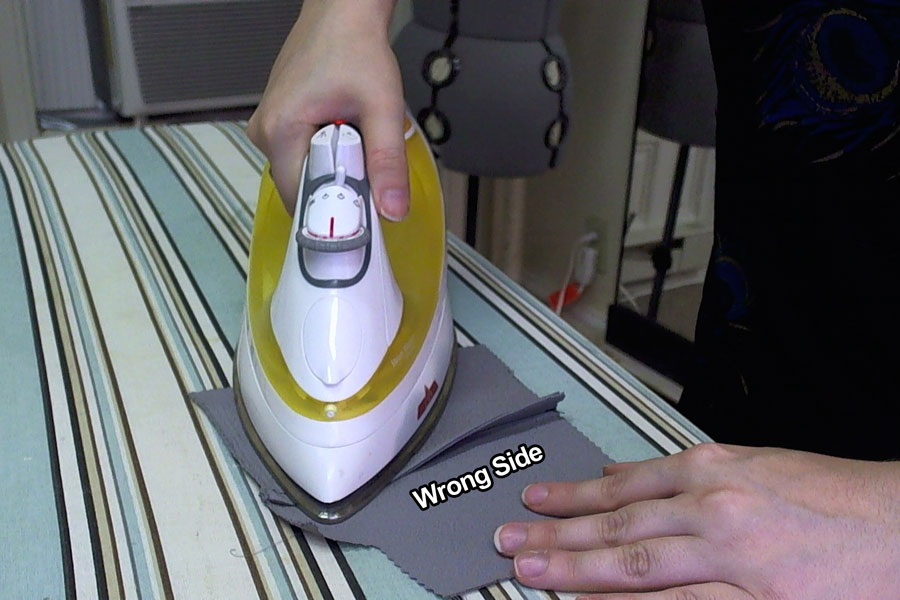
Iron your seam flat
Unfold the fabric with right sides up and iron along the trimmed seam. Do not iron the seam open, but simply off to one side like the below picture shows. Also, beware of your iron heat on fairer fabrics so not to melt or ruin the right side.

Iron it in half
Fold the material along the new seam with the wrong sides facing outward this time. Then iron along the seam line to flatten it outward. Re-pin the seam with the wrong side still facing outward.
Make your second seam
Stitch your seam allowance (in this case 3/8") along the entire length of your pinned fabric. Remove your pins.
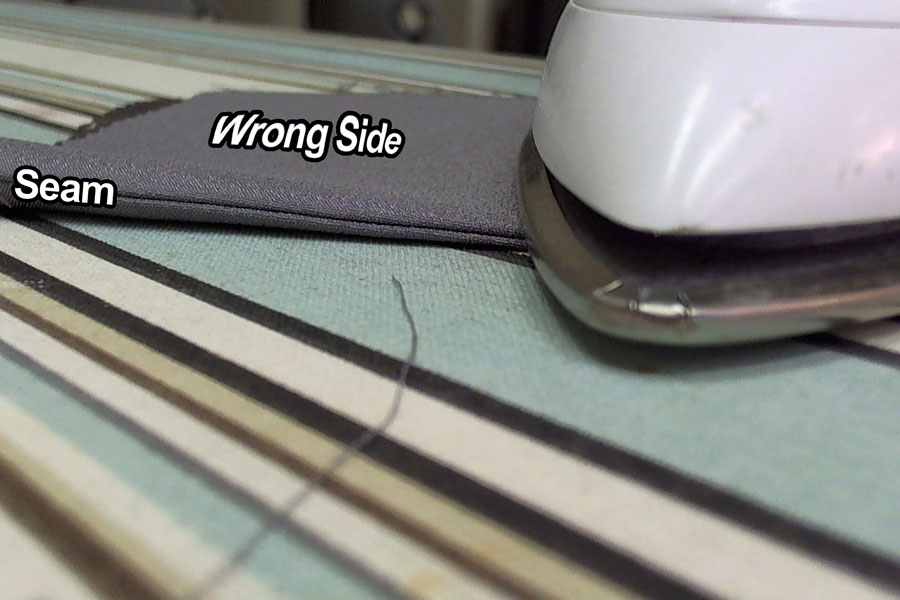
Iron the french seam
Unfold your fabric with the wrong side up, and press the entire length of the seam flat to one side. And your seam is done!
Be Proud
As you will notice the seam allowance is now completely cased in the bit of excess fabric which will protect it from fraying and give some excess strength on the sleeve. It leaves it clean against the flesh and looks no different than a normal seam from the outside.
If you have any questions about this tutorial, be sure to bug me at or contact me on my Facebook or Tumblr accounts.
Did you like and use this tutorial? If so, please consider putting a little change into the Ko-fi tip jar!