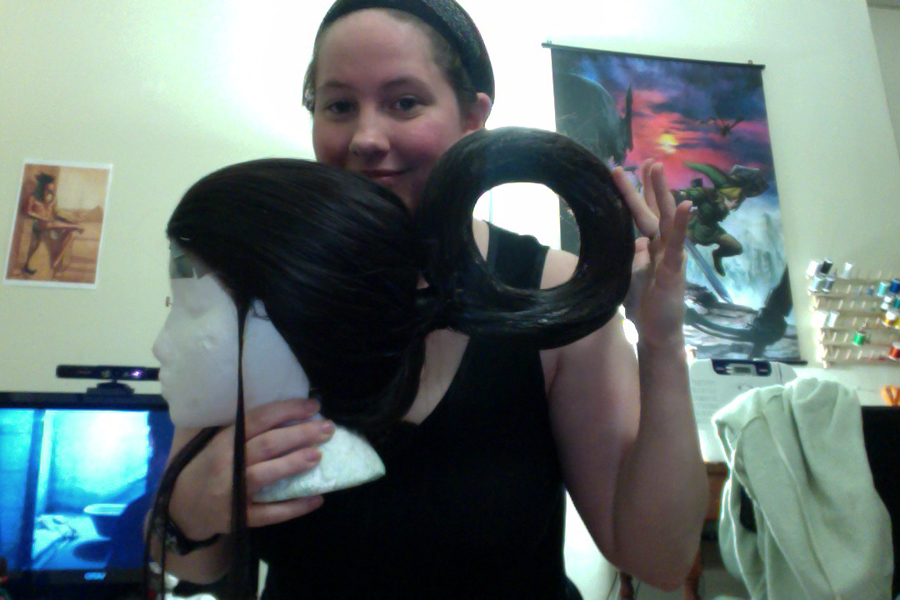
The example in this tutorial is my Genbu wig, which is a Natural Black Lacefront 'The Dude' from Arda Wigs. It actually didn't have enough hair for me to wrap the entire loop, so I used spare wefts leftover from my Dark Brown Lu Bu to deal with it. It took me aprox 6-8 hours over the span of 3 days to complete due to the fact I waited... somewhat patiently for paint/gel to dry almost completely because my ion hairdryer doesn't really have a 'low' blow setting. This was fine because gel/glue on wefts tend to make them slightly, but noticeably darker so it made the wefts a similar color to the rest of the wig.
If you're strapped for time making a costume do this -first- since there will be a lot of time between drying to work on other things and it's not something you should rush. This tutorial will only explain how I made the 1 loop, so you'll have to play with some creative ideas if you need more than one.
Please excuse my iffy photos with ths one. I didn't take the time to do photos this one, so I hope that my sketches help a bit.

Materials You'll Need
- Wig (& possibly extra wefts)
- Wig Head that is your size
- Wig stand (or somewhere to put your head)
- Something to hold your loops (I like my hem bar on my dressform!)
- Hair ties
- Gauge 12 Wire (and more than one spool if you're making multiple loops)
- Wire Cutters
- Duct tape
- Expandable foam
- Box cutter knife with lots of blades (carving foam wears them out quick)
- Masking Tape
- Fleece similar to your wig color
- Hot glue
- Clear Adhesive Caulk
- Tacky Glue (I like the quick drying kind)
- Got 2B Glued Gel (or spray)
- Hair Dryer
- Wig Brush & Comb
- Detangling Spray (like No More Tears Conditioner by Johnson & Johnson)
༺ Let's get started! ༻
Let's get started!
Pull your wig into a semi-high ponytail
Don't make me explain this. Pulling ponytails for wigs is like magic for me and I was surprised it work. Lucky, there are people that made really good videos for this! Like Epic w/ Dizzy Lizzy, as well as Arda for ponytails.
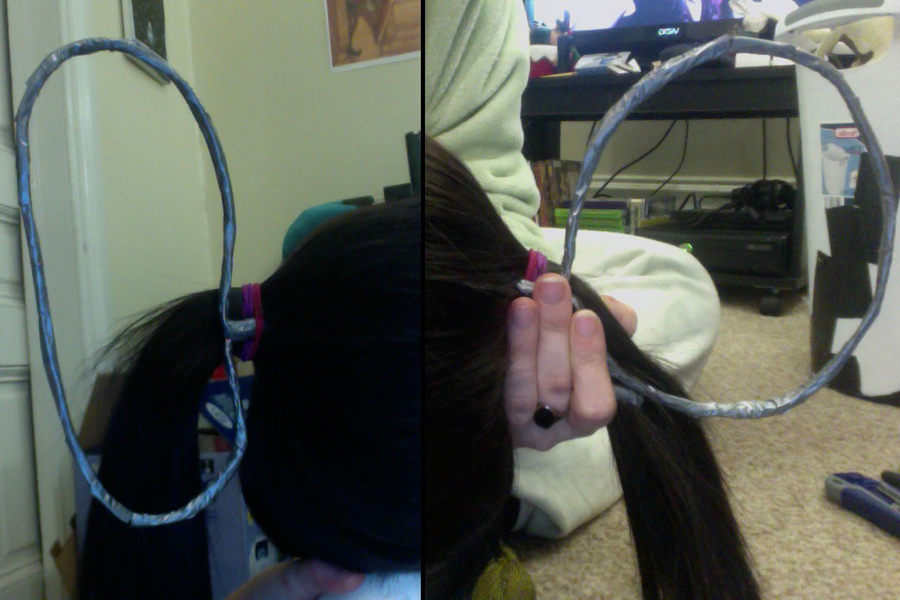
Make your loop form
Take a length of wire and form it into your shape. It helps put It into perspective when you put it against the head. (Such as me not liking my first oblong shape.) Be sure your loop has a 'tail' to it to stick into your ponytail.
Make 3 copies and duct tape the hell out of it
Duplicate your form 3 more times and put it all together, then tightly wind duct tape around the wire. It's much easier working with smaller and thinner pieces of tape and wrapping slowly to ensure its even. Make sure to double check that your shape is exactly how you want it against your wig.
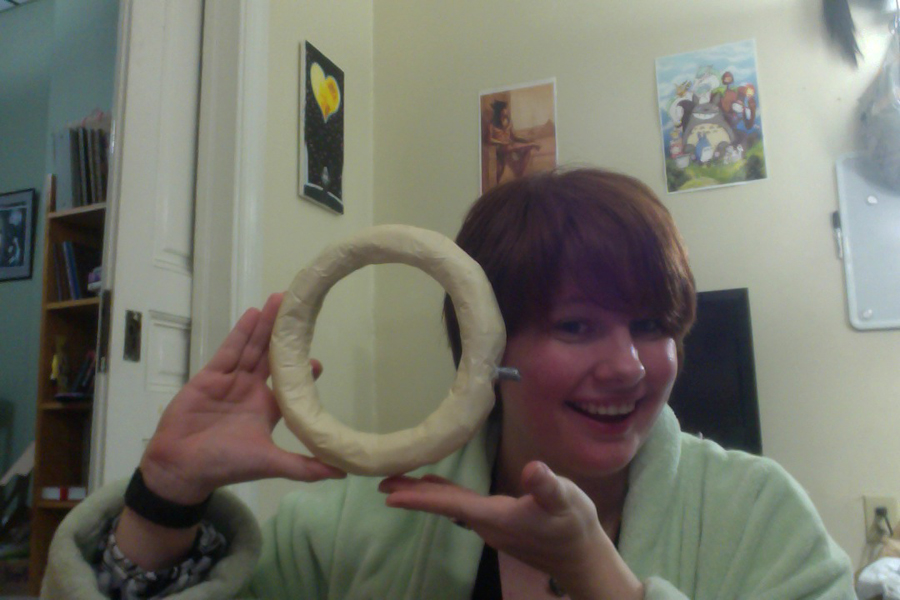
Cover it with expandable foam
If you've never worked with expandable foam before, Kamui cosplay does a great tutorial on it.
Put your loop on wax or parchment paper that the foam wont attach to your spraying surface. Remember that it also doubles in size, so spray enough to cover the loop, but don't go crazy.
Once the one side solid enough to touch, flip it over and repeat the spray to fully cover the loop. Be sure to let it fully dry at least overnight.
Carve the foam
Take your carving knife to start getting your round shape to the thickness you want. Try to go around in a circle and first make it flat on top, bottom, and sides, and then carve away at the corners to make it round.
Don't worry for perfection, it's a little hard to reach. And if your wire starts to expose a bit, don't worry. As long as it retains its shape the wire doesn't need to be 100% in the center of the foam.
Surround the foam with masking tape
This preliminary step helps cover holes in the foam and makes it sturdier. You can skip this, but it does make a difference in keeping the foam firm. Just like with the duct tape before, you'll want to work with small pieces and go around slowly.
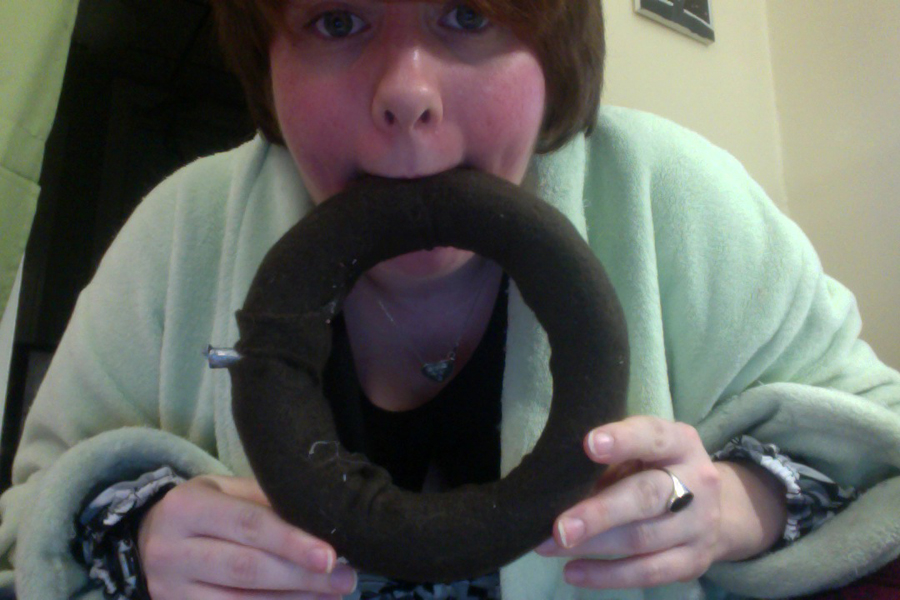
Surround the foam with fleece
Unlike the duct or masking tape, you'll want to cut a solid piece of fleece that merges at the center. Hot glue the outer edge of your foam first, wait 10 seconds to let it cool enough beyond touching, and place the center of the fleece there. Let it cool completely before pulling the fleece towards the inside center to tact it there.
This part is hard to explain since I just... happened to do it. If you need to do it a few times don't worry. You can easily rip the glue off of the masking tape. If you rip or damage your masking tape you can just re-wrap it around the foam. Just take your time.
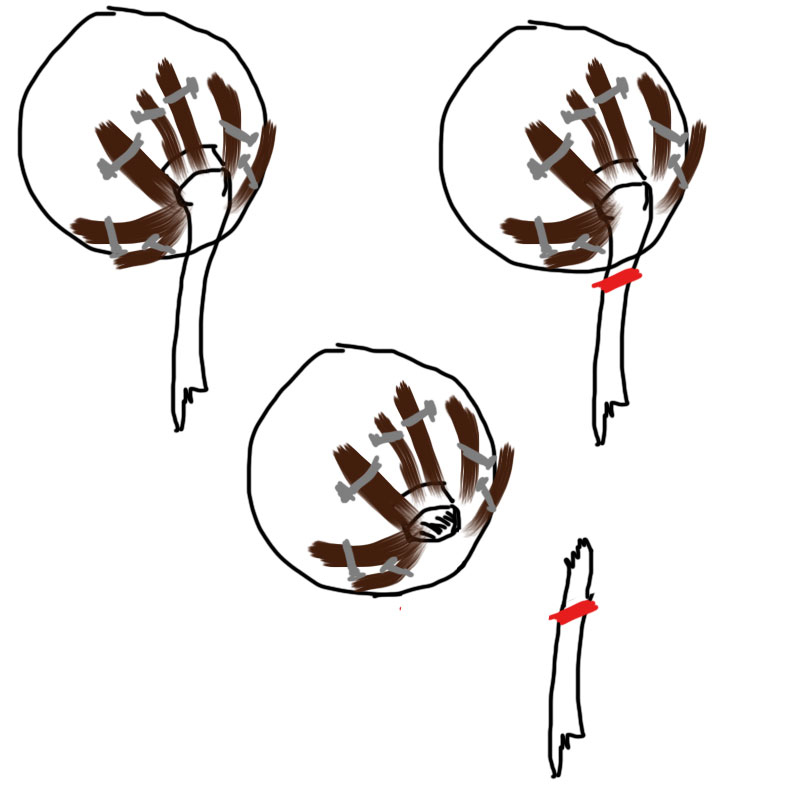
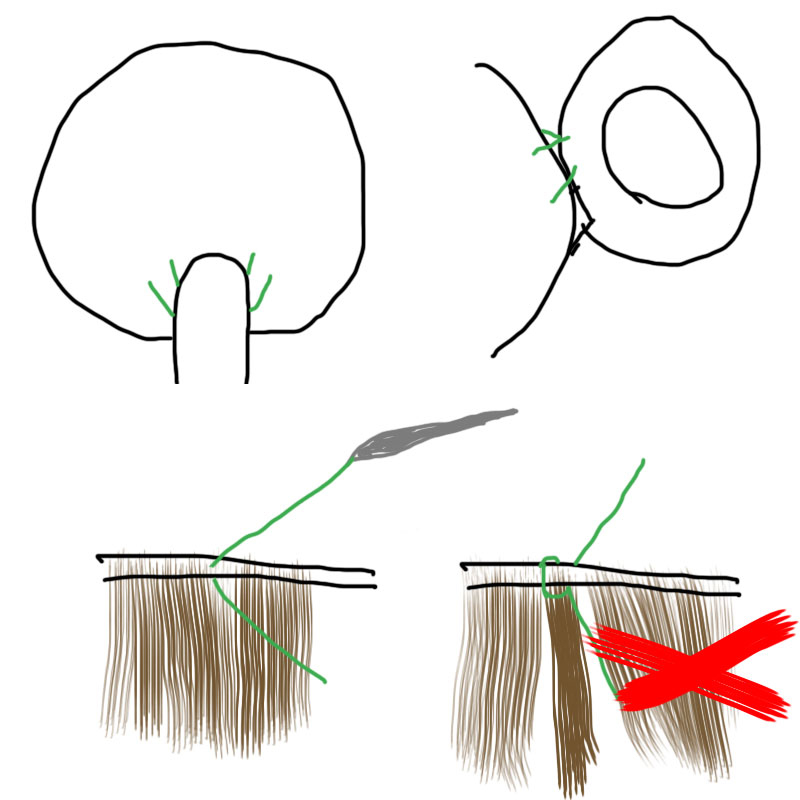
Stump and shave the tail
Using a spare piece of fabric (possibly a non-stretch similar color to your wig) to make a thick hair tie to help hold the wefts down. Give it some extra hot glue just to make sure your wefts on the edges do not escape.
You'll want to cut the tail, but not the complete tail. A lot of those strands will be good as the outer most layer for the loop. So take a comb and pull away the outside wefts of the ponytail and clip it back against the wig to hold them secure. How thick you want is up to you, but I'd at least make sure it is enough hair so that if you hold it up flat you can't easily see through it.
With that done, take a hair tie and wrap it tightly around the tail an inch or so below where it connects to the wig. Then take your scissors and cut that sucker off right at the base of your hair wrap. Since this is getting covered it doesn't have to be the cleanest cut. The hair tie keeps the strands from falling all over the place.
Cover the circle with wefts
Although I glued the circle first to the wig, I realized what a -pain- it was to try and flip it in every direction to glue the hair. So cover your loop first before attaching it. This will make it a lot easier then having to use your dressform leg like I did to hold it at angles while drying. If you have something to clip it (or just tape the extension tip to a table and flip it around) it will save you quite a bit of time.
WARNING: This step is time consuming, so be sure to take your time with it.
WARNING: The inside of the loop is going to be your worst enemy. Just take your time!
If you have a hair dryer that has a very low heat and blow setting, you may be able to help your drying time. But do not have it high enough to blow strands around.
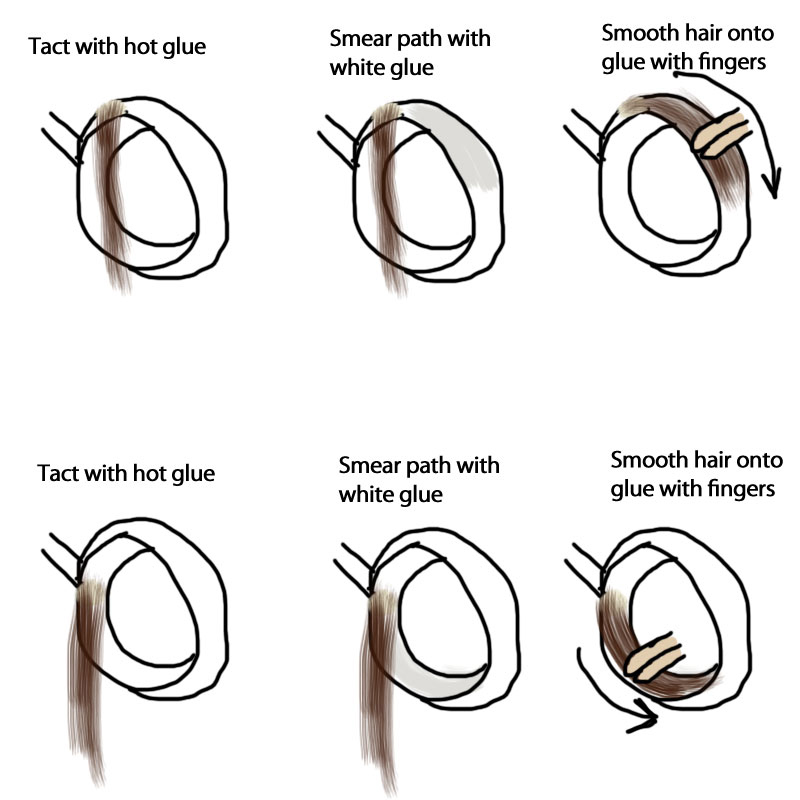
The basic idea that I used for this is tact, wait, glue, spray, wait, gel, wait, done. The more areas you can cover with the same step at a time, the faster this will be.
Take a small bit of weft and tact down the flat edge using hot glue (and burned myself multiple times so wait for it to cool at least 10 seconds.) If you have latex gloves to keep the glue from sticking to you it may help with the strands.
Once the tact was dry I covered its projected path with a semi-thick layer of white glue. Then I guided the one end with my fingers and flattened it down against the path with the other. With it down I gave the outside a spritz of hair spray to hold it down while it dries. Do NOT slather the hair with hair spray it will just get all stuck together and crumbly.
Once the path was dry I slathered a finger with a nice dose of gel and covered the top of it.
Once the gel was hard and the loop had no more wet spots, I repeated the process until the wig was pretty much covered.
Make sure that loop has had at least an overnight dry before attaching it to the wig.
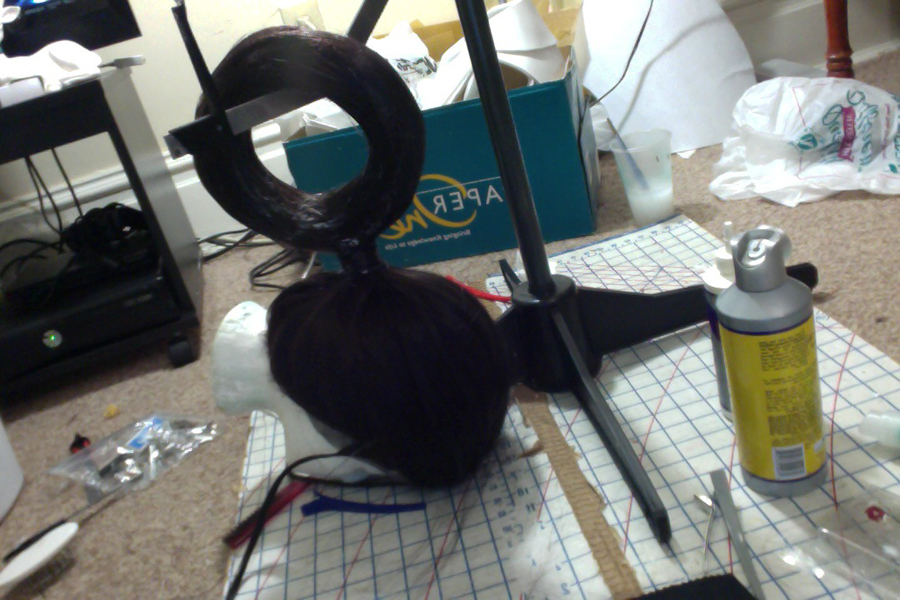
Caulk and attach
Pump the inside of the tail full of caulk and cover the outside of it as well. It's not quick drying so you do not need to rush to attach the loop. Dab a little more caulk over the tip and base of the loop and slip the tip into the thick ponytail. I used some excess stretch fabric and some thread still attached to the wire to hold the loop to the head in place tight. Wait overnight for it to completely dry, just to be completely sure.
Glue the final wefts
Remember those wefts you pulled aside from the tail? Time to tack them down. Just like you did with your loop before you're going to want to do the same steps without the glue.
Paint a path with the white glue and smooth it down with your finger. Give it a burst of hair spray and wait for it to dry. Then one more time surround the entire loop with a nice layer of gel to make sure it remains hard as a rock forevermore. Wait overnight for that to be dry.

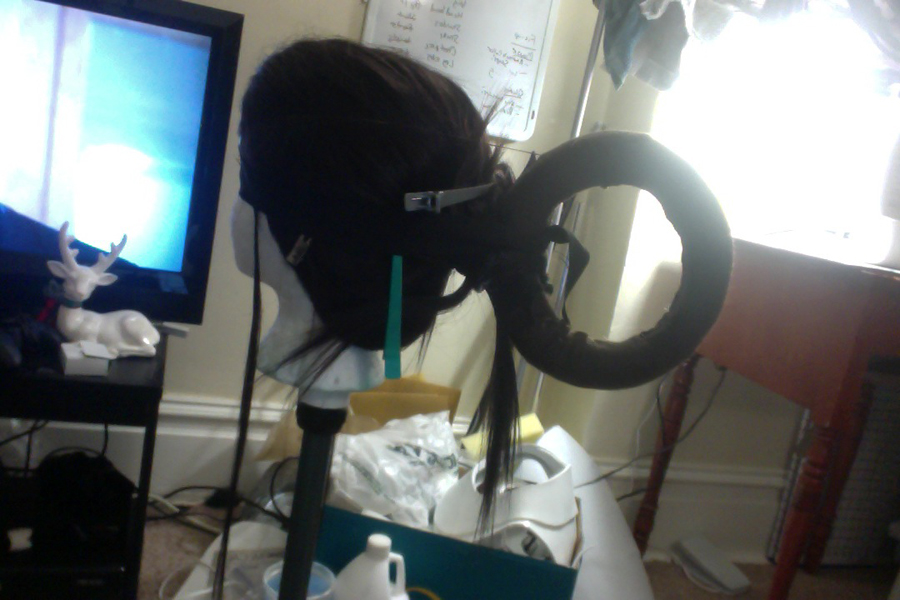
Final supportive touches
This step isn't mandatory but it can help. Your loop is going to be heavy for your wig and it might sag, so you may want to give it some extra support. Take a long needle (like a doll makers needle) and use clear or similar colored thread. Grab a bit of a weft edge and loop it around the best you can without gathering strands. Then pierce through hair and foam to the other side. (If your needle is too small or not strong enough you may break it! There is a rogue needle tip in Genbu.) Then go to the other side and loop around another weft edge before coming back and repeating the process.
I would not advise gluing the loops down since that is only grabbing to rogue hair, and the weight may cause it to pull away. Be sure not to tie it in a way that it pulls the wig more snug (IE looping round and round.) Tact it down in multiple well supported places to ensure it doesn't pull the wig tighter under gravity.
Also be sure to bobby pin the hell out of your head when you wear this since the loop will be tugging at the base of the wig and therefore tugging it from your head.
And you're done!
Congrats! You've now made a hair loop. Feel proud of yourself since it was a giant pain!
If you have any questions about this tutorial, be sure to bug me at or contact me on my Facebook or Tumblr accounts.
Did you like and use this tutorial? If so, please consider putting a little change into the Ko-fi tip jar!